Introduction
Today we were challenged to 3D print a component for our final project and to use Revopoint to scan an object we found in the lab. By the end of this lesson we were supposed to know how to use the Prusa 3D printers, design 3D objects, and scan complex or detailed objects.
I have always been very partial to the convenience of 3D printers. As soon as my school got its first 3D printer, I immediately began using it as much as I could to design custom objects made of plastic. I was excited to use the skills I already had as well as new skills I learned in class in order to further my final project. I decided to make a ball-join "joystick" to mount my gyroscope onto (similar to Ibrahim's pen suggestion documented in my final project). Additionally, I scanned a glue bottle as a reference to my first time using Fusion360 in Lesson 2!
Components
This project had 2 components: the ball-joint joystick and the glue bottle scan.
Part 1 - Ball-Joint Joystick
In order to make the joystick, I needed to first research how ball-joints worked. I used this resource to become familiar with the technology and eventually decided on a design.
First, I created my ball and added an axle through it. I was aiming for 40 degrees of rotation on either side, and the proportion between the sizes (see below) reflected that.
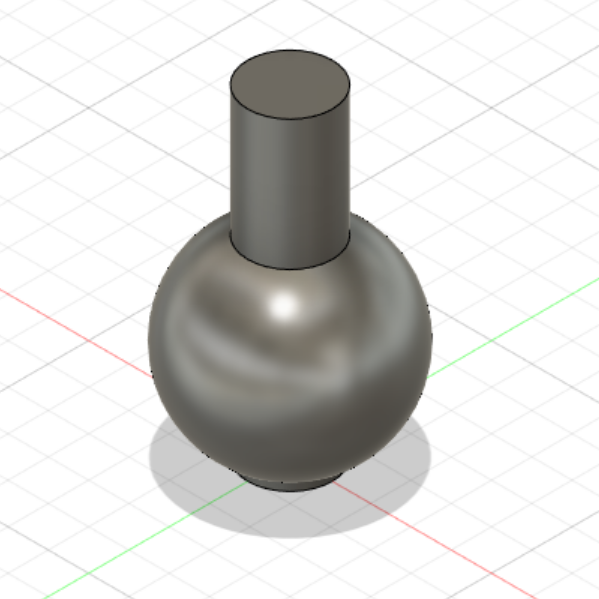
Fig 1. Ball and axle
Next, I added an arbitrary cylinder and added a copy of my original ball centered in it.

Fig 2. Cylinder
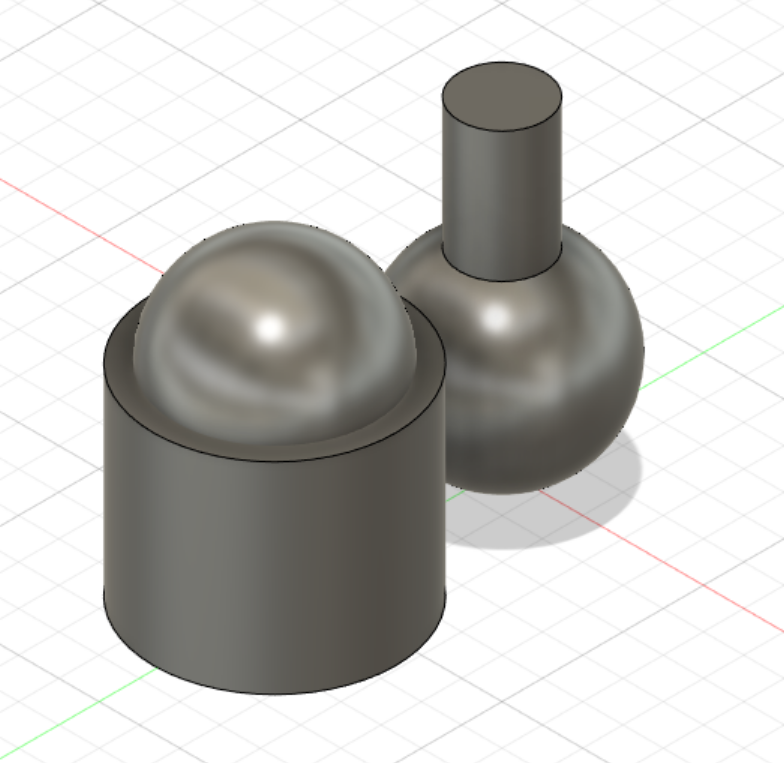
Fig 3. Cylinder with raised ball
I then lowered the ball into the cylinder by 7mm. *Compare this with the image above.
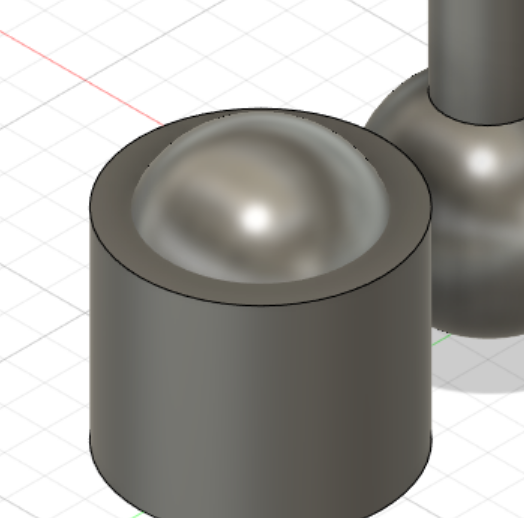
Fig 4. Lowered ball
I then combined these two bodies to create my indent, and turned both resulting bodies into components.
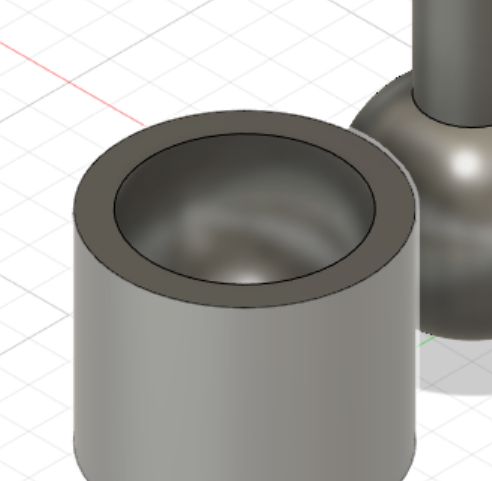
Fig 5. Cylinder with hole
Then, I created an assembly with a ball joint. This process can be seen in my documentation for Lesson 2.
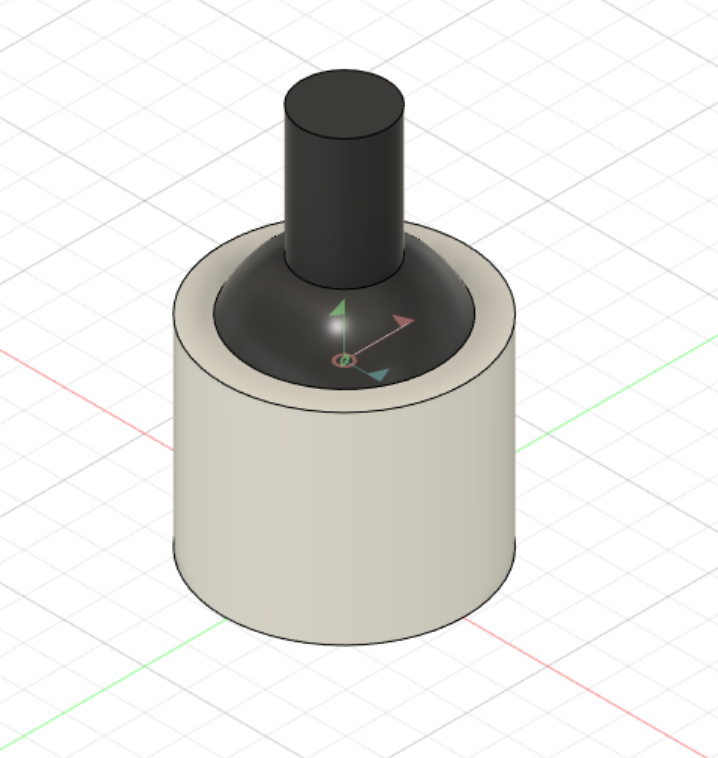
Fig 6. Assembly
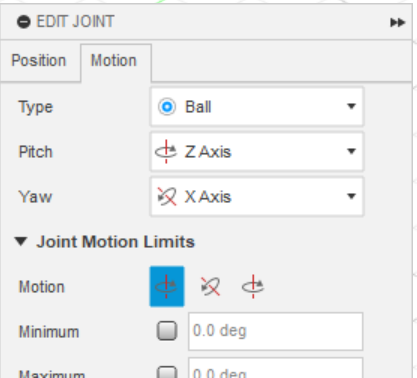
Fig 7. Settings for ball joint
This is the final design that I created. By clicking and dragging the top of the shaft, you can see the theoretical motion of my joystick.
After this, I printed the design and removed the supports.
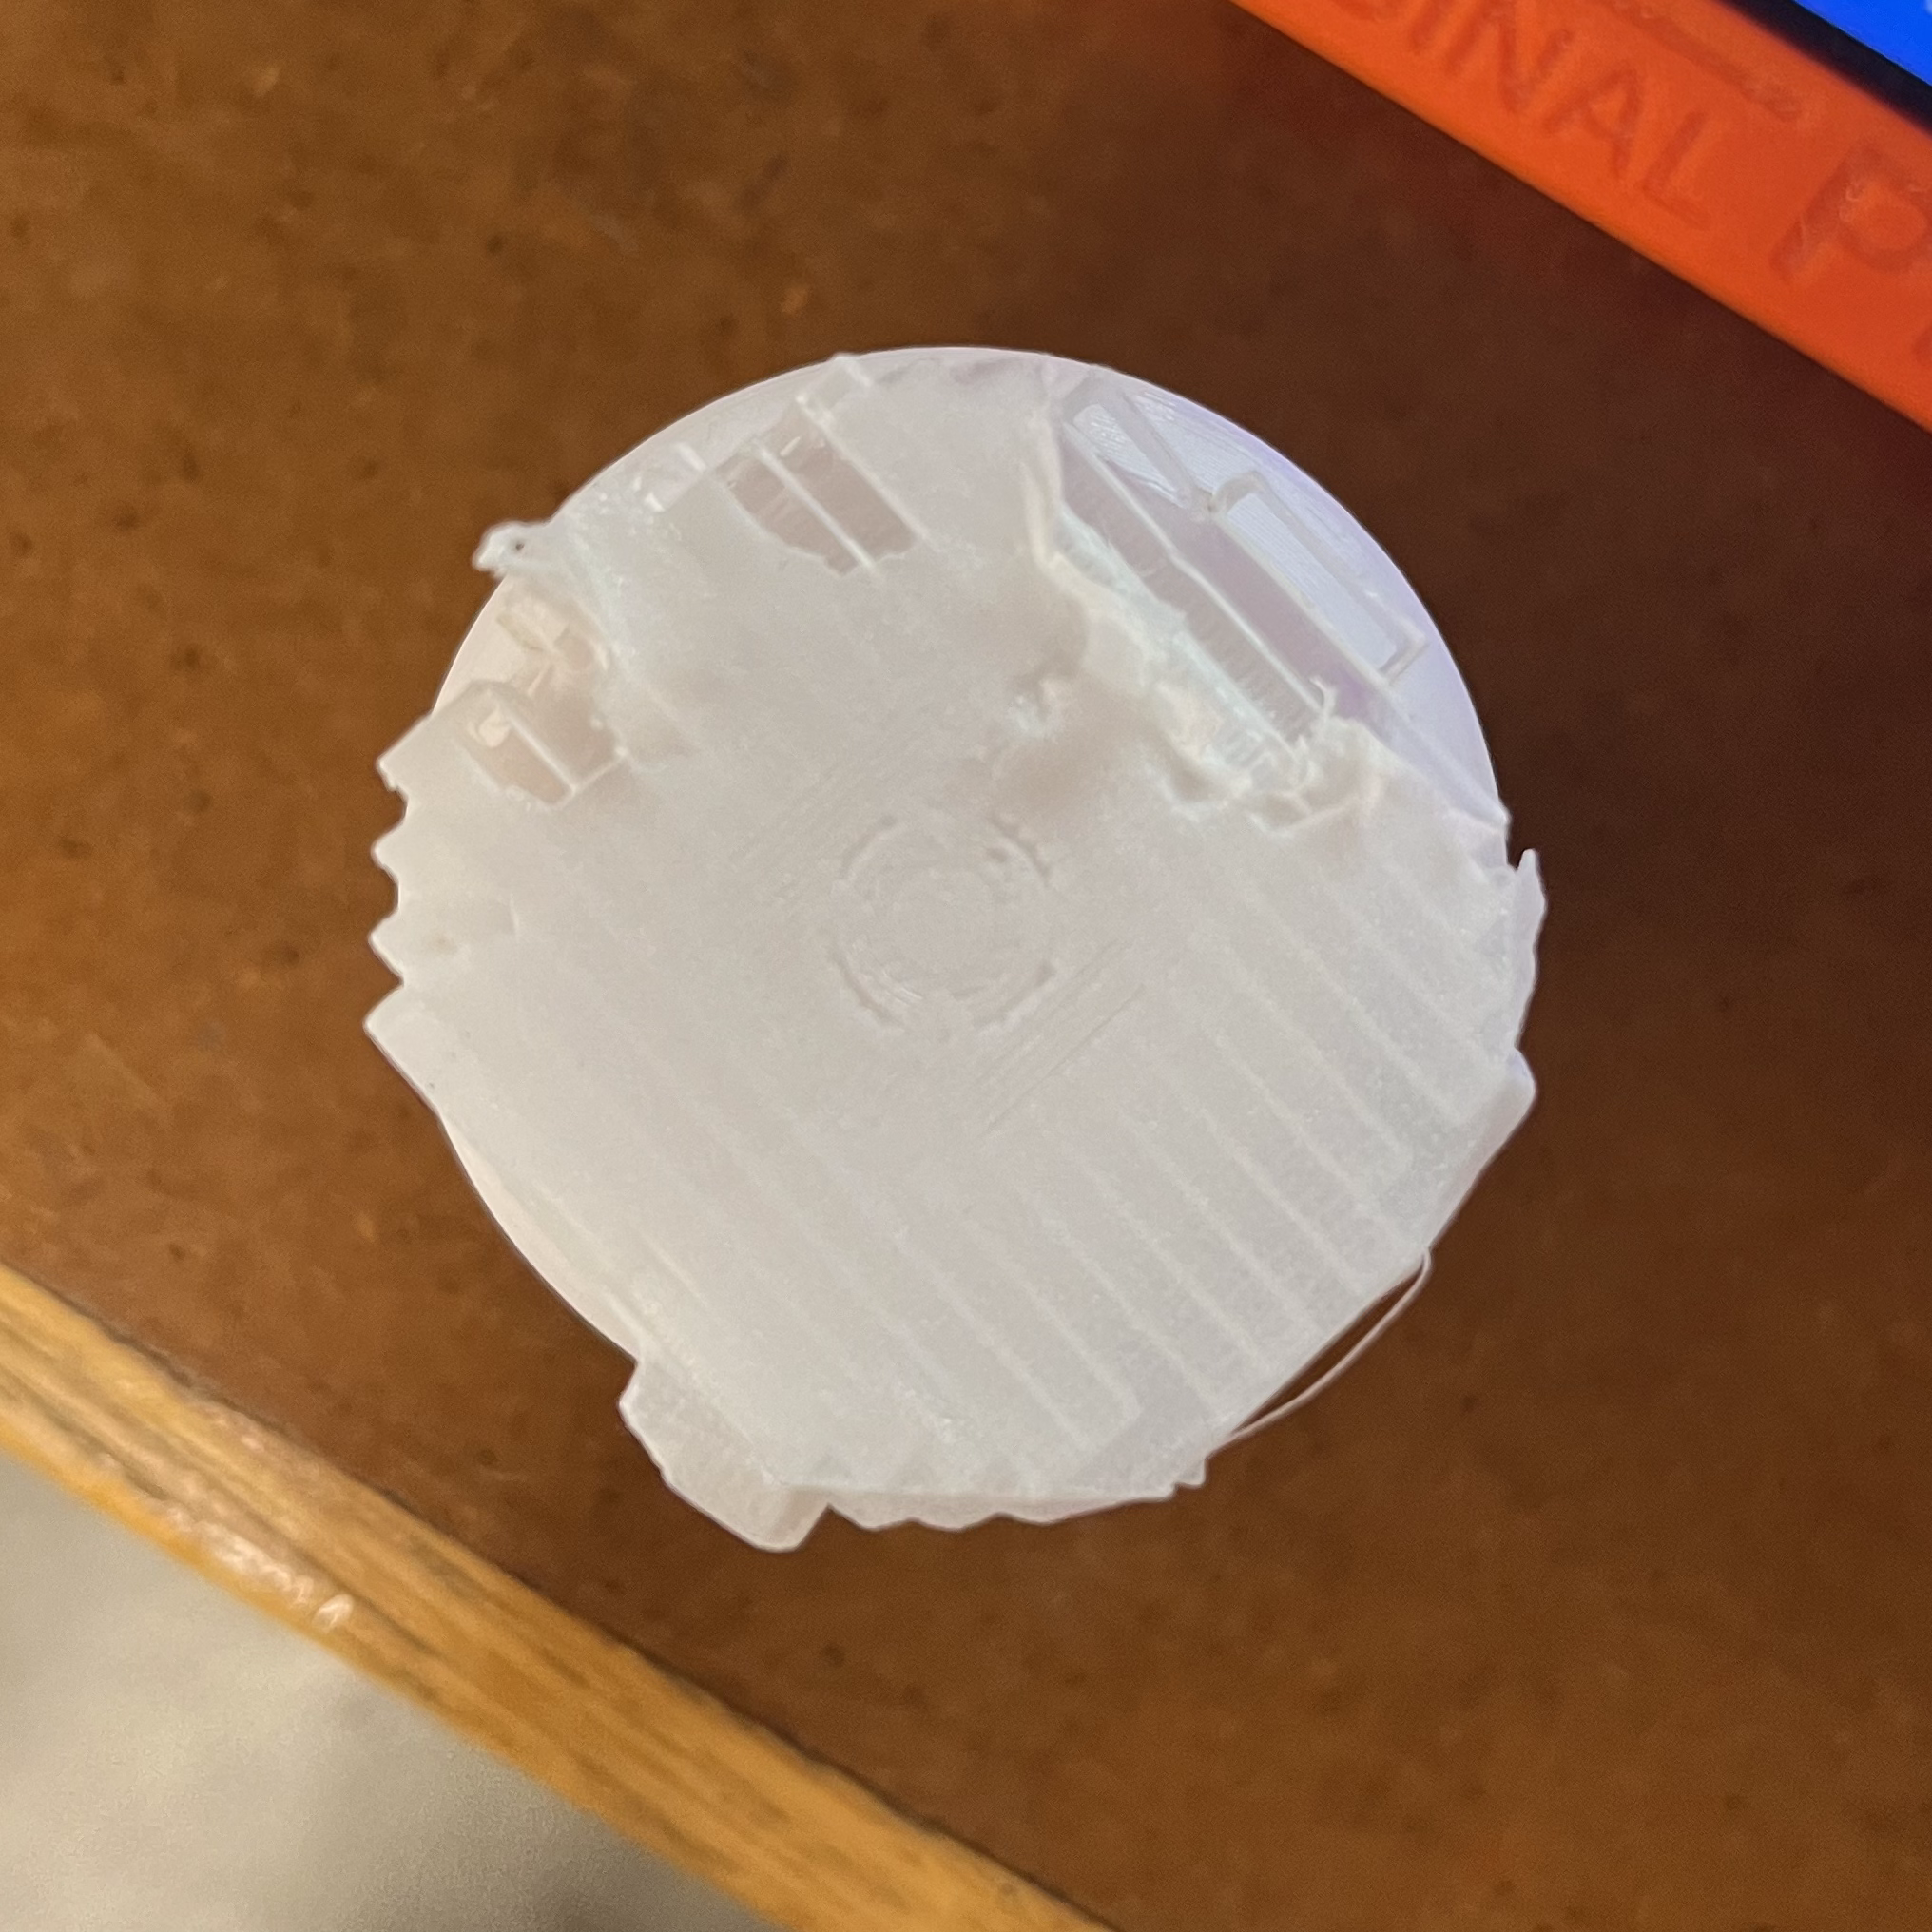
Fig 8. Supports, partially removed
And then I used a heat gun to force the parts together.
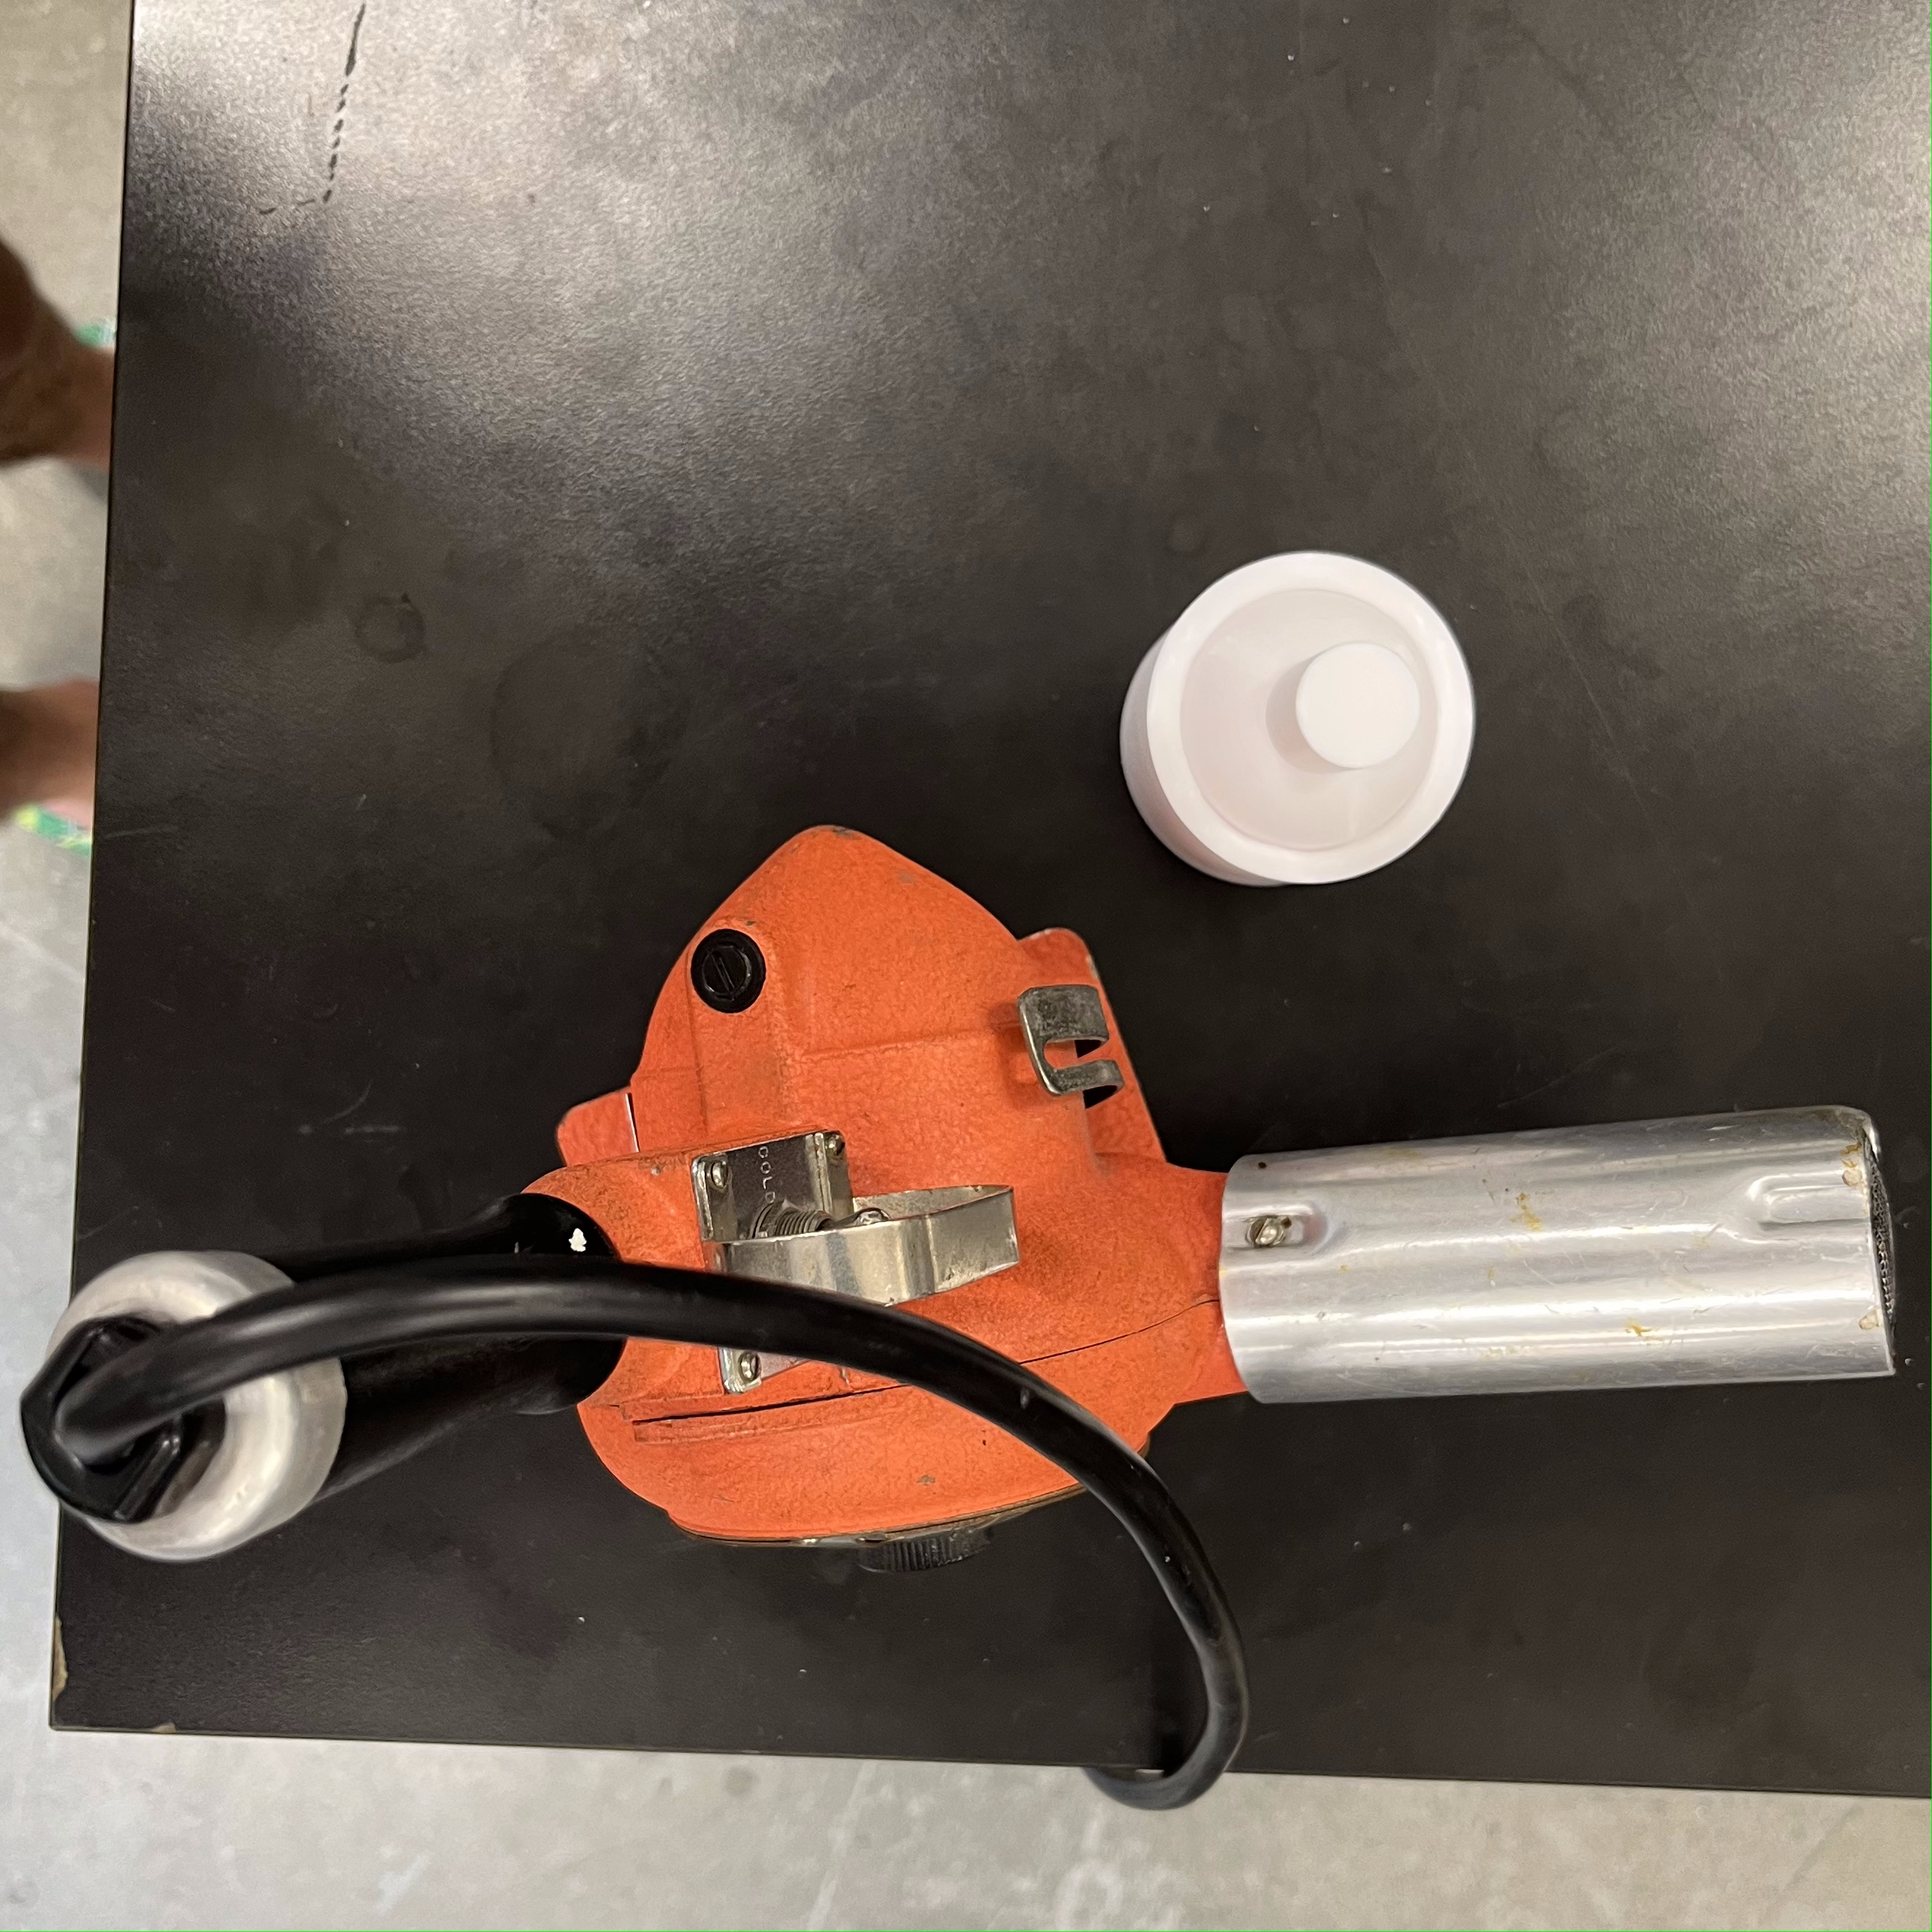
Fig 9. Heat Gun and Joystick
Which left me with my final joystick.

Fig 10. Final Joystick
Part 2 - Revopoint Scan
In this lesson we were taught how to use Revopoint to scan 3D objects. I decided to scan a bottle of glue. This presented a few challenges such as its height, the required distance, and color. I will address these as I go on.
First, I set up the glue bottle, turn table, and camera. This allowed me to see which parts of the glue bottle the software was picking up.

Fig 11. Scanning setup
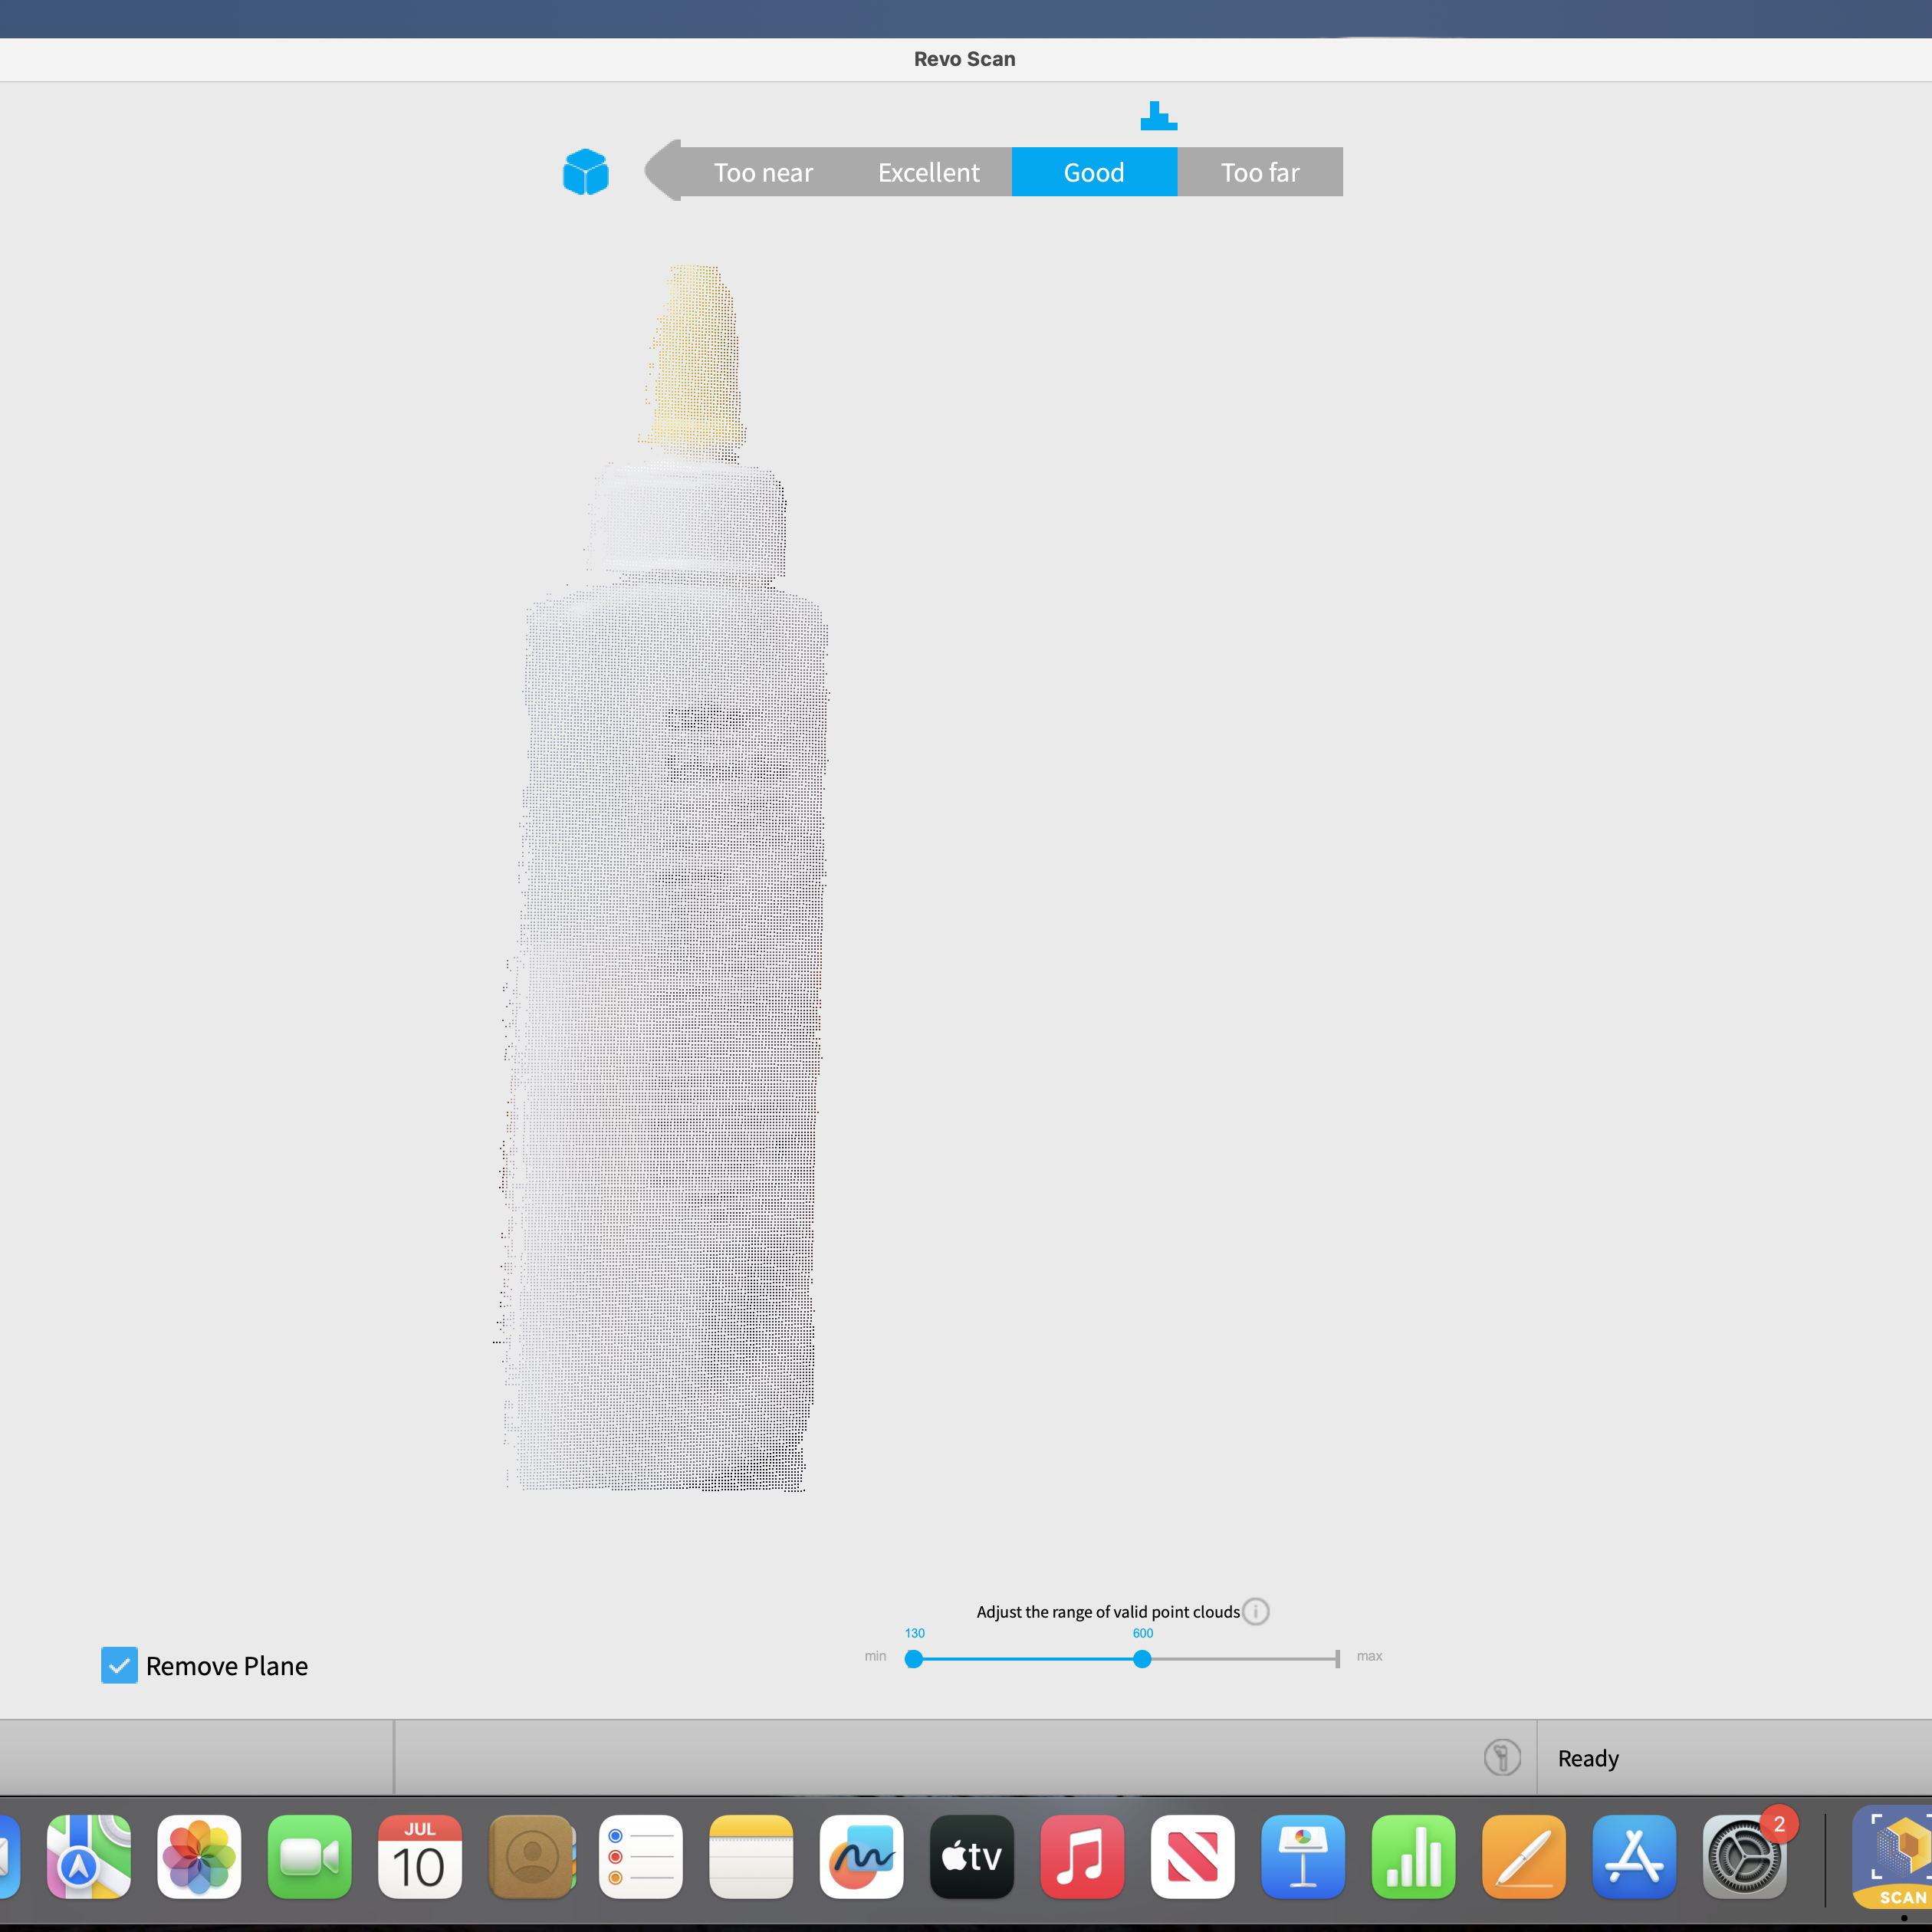
Fig 13. Point cloud visualization of camera view
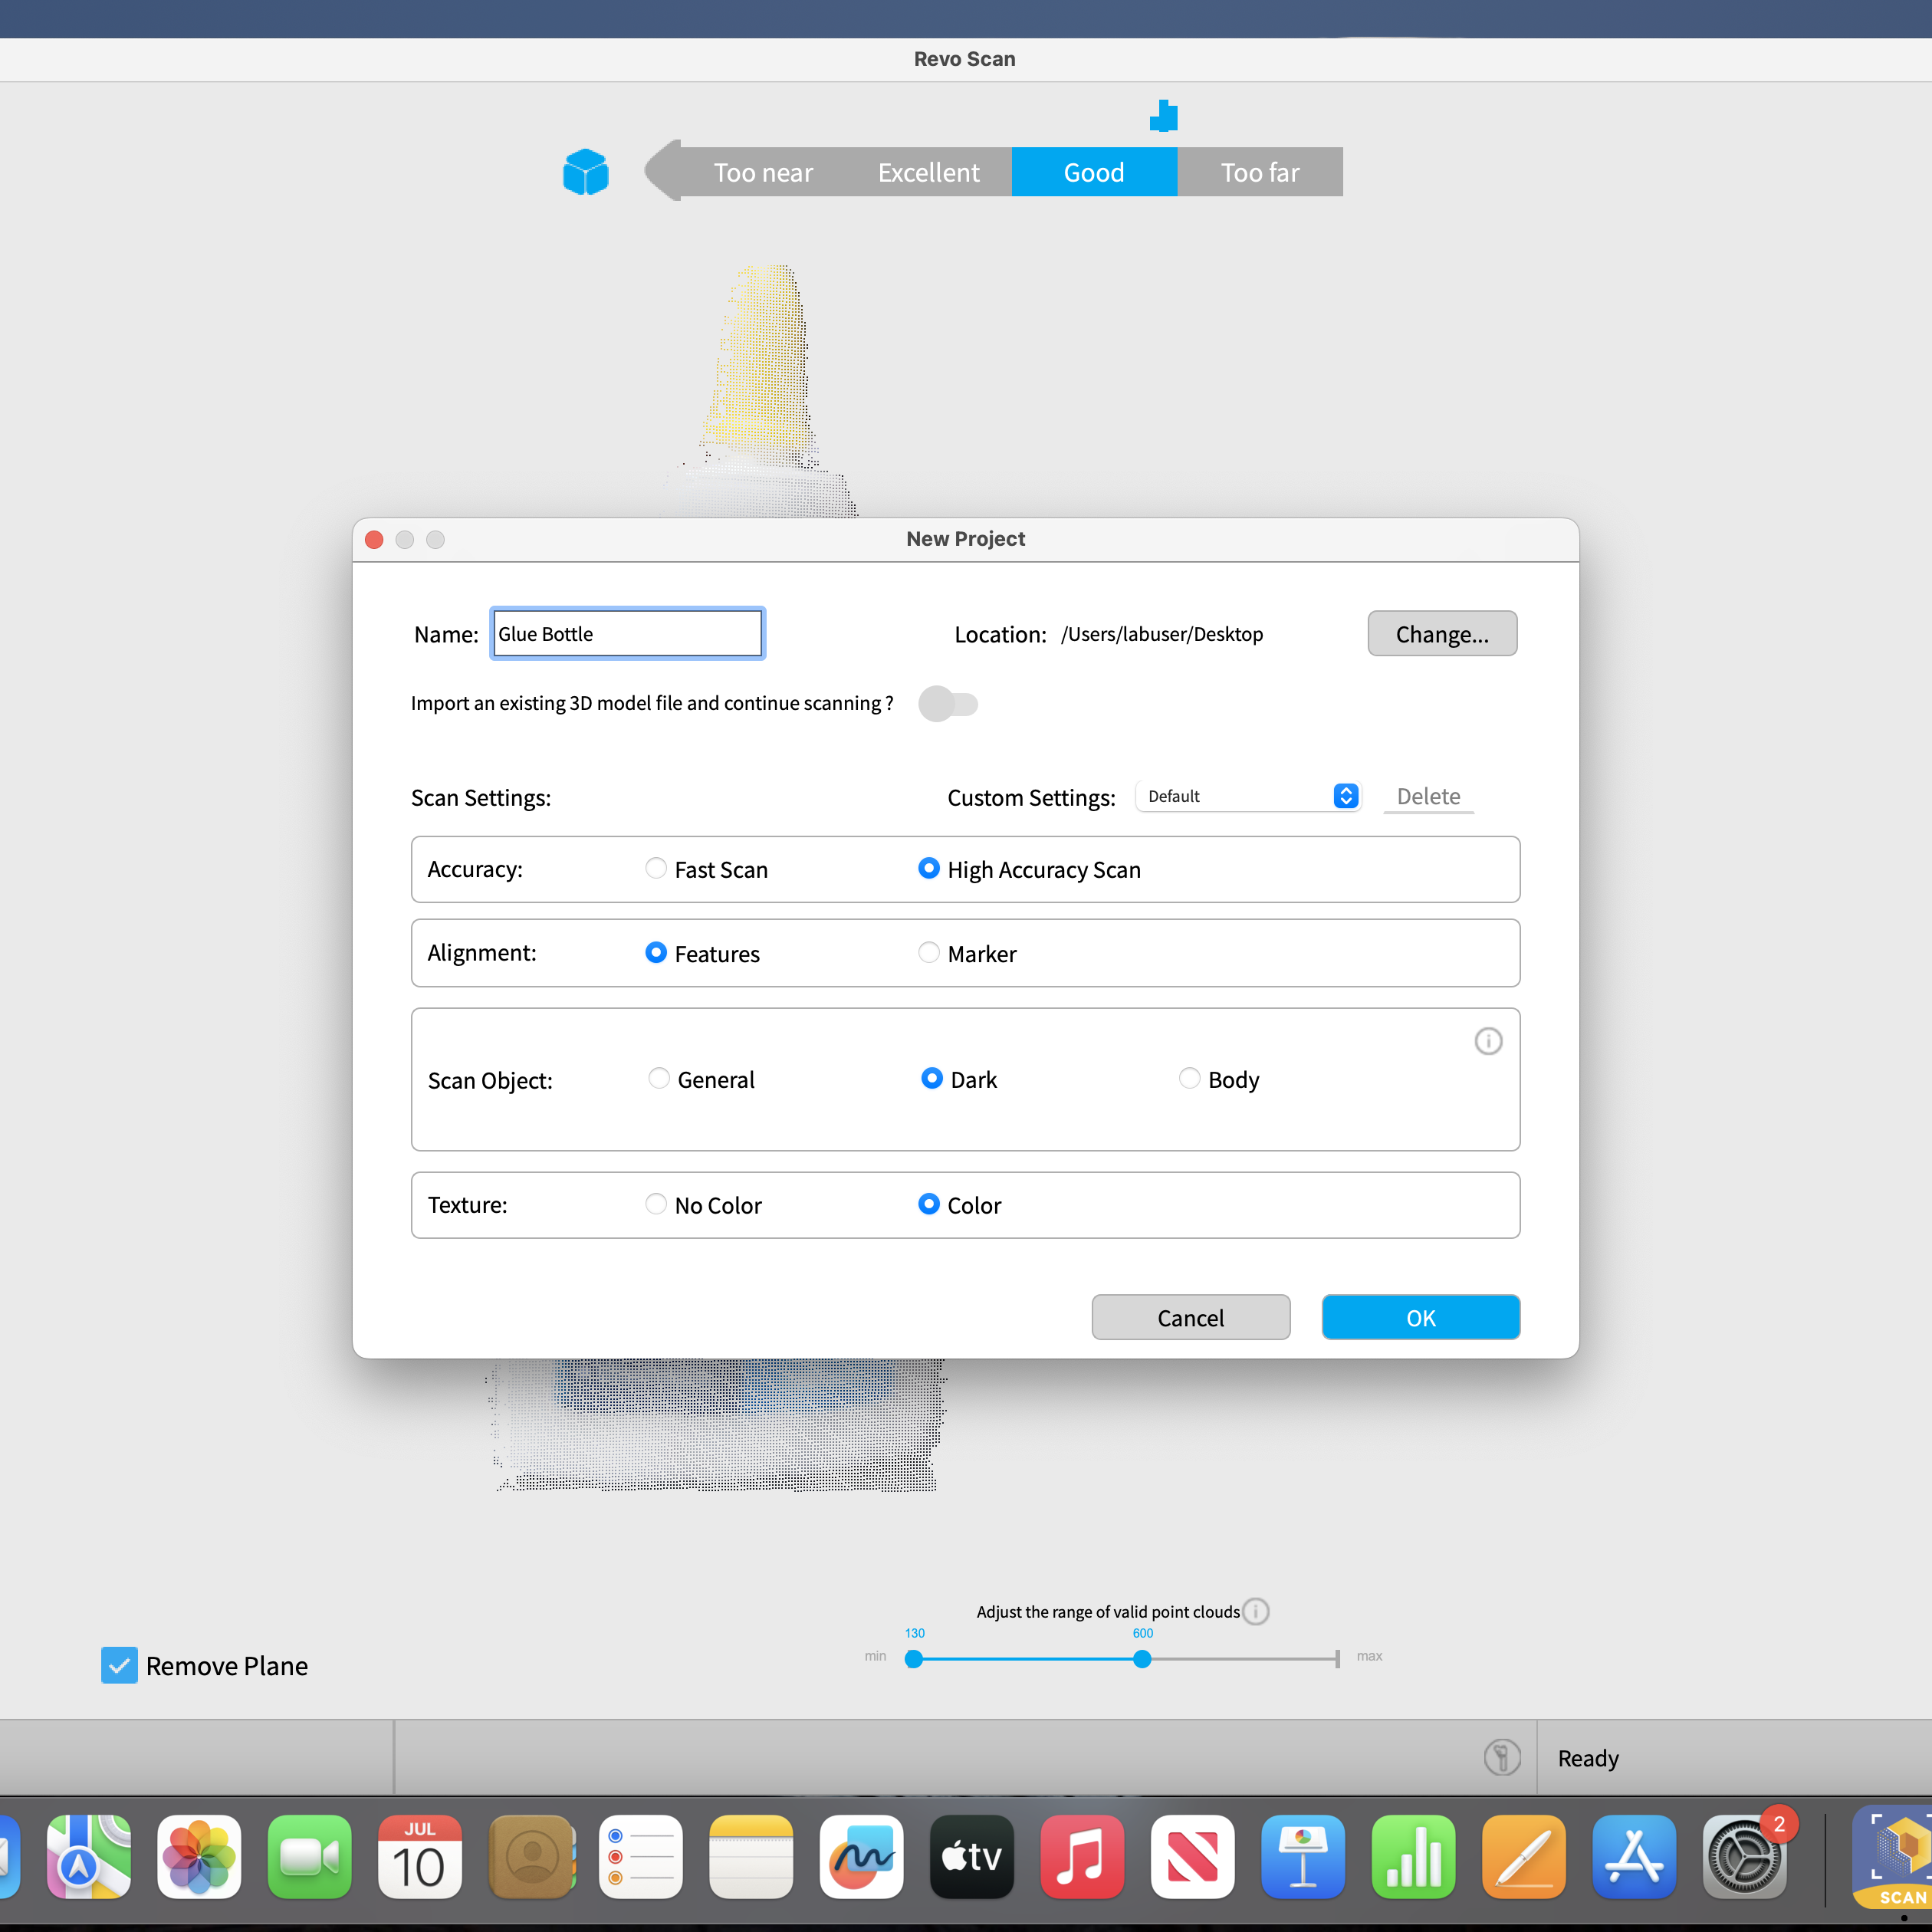
Fig 12. Settings for final scan
Satisfied, I then fused my point cloud to create a rough model.
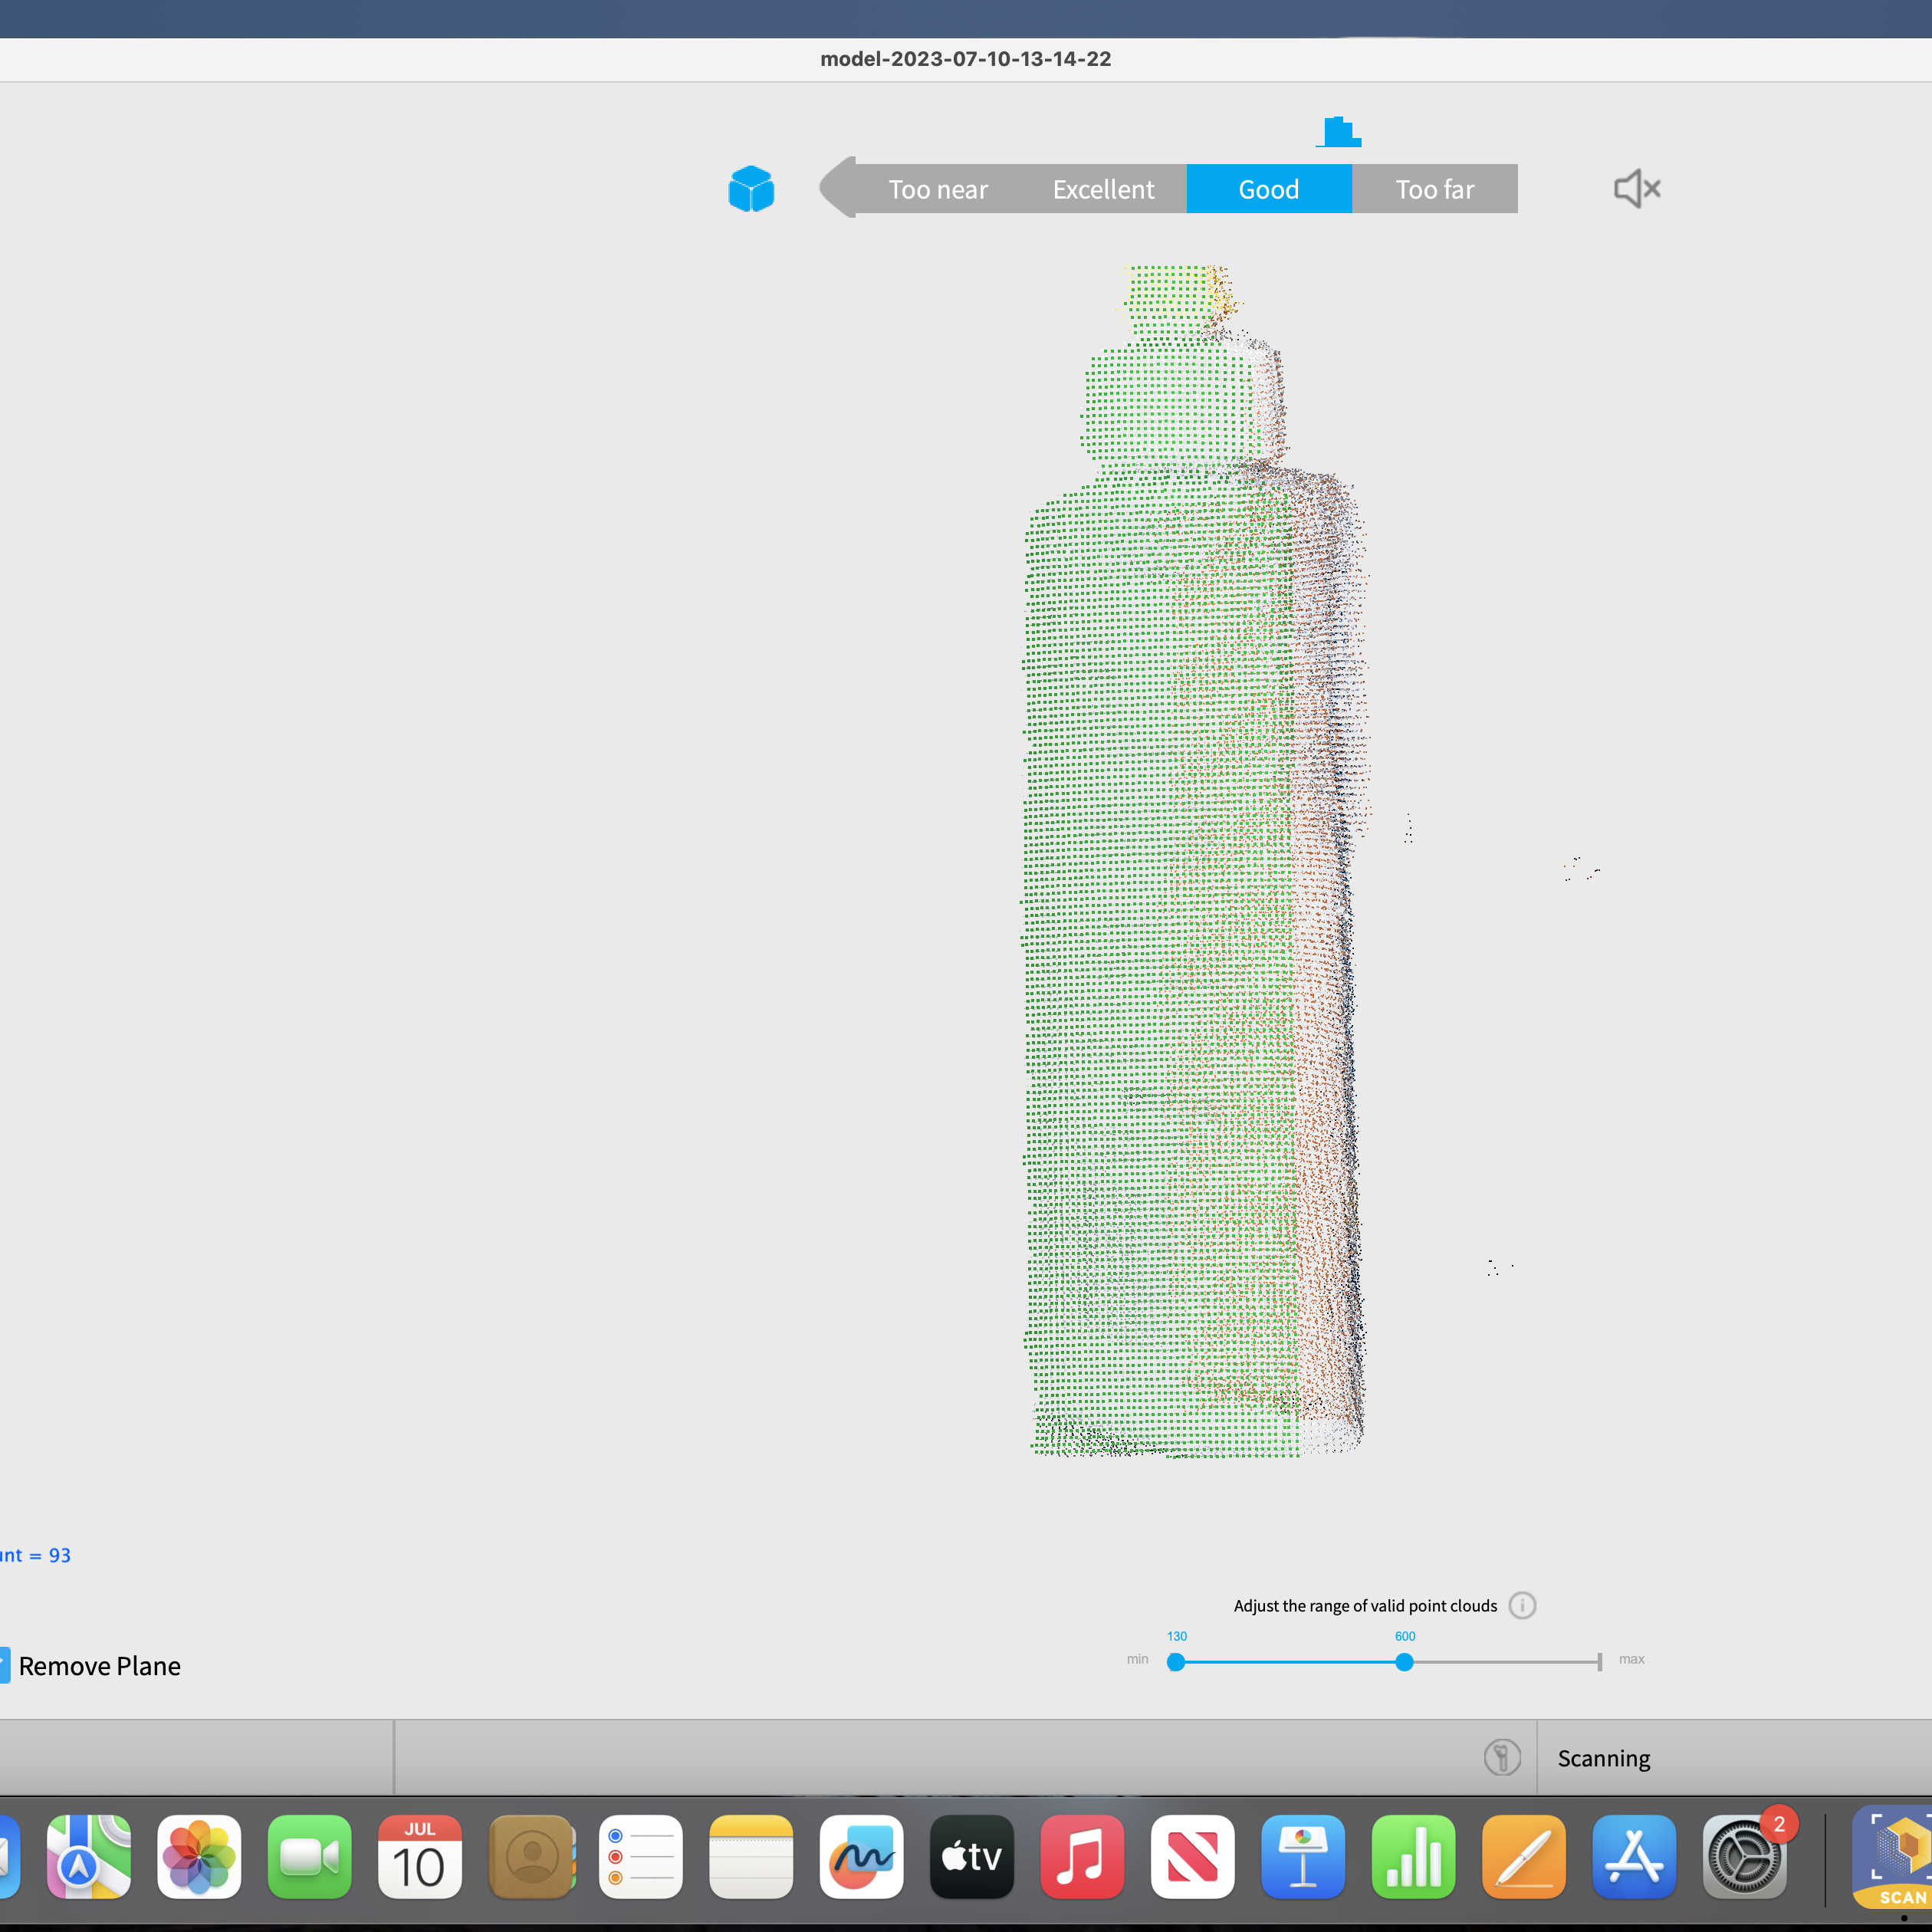
Fig 14. Point Cloud
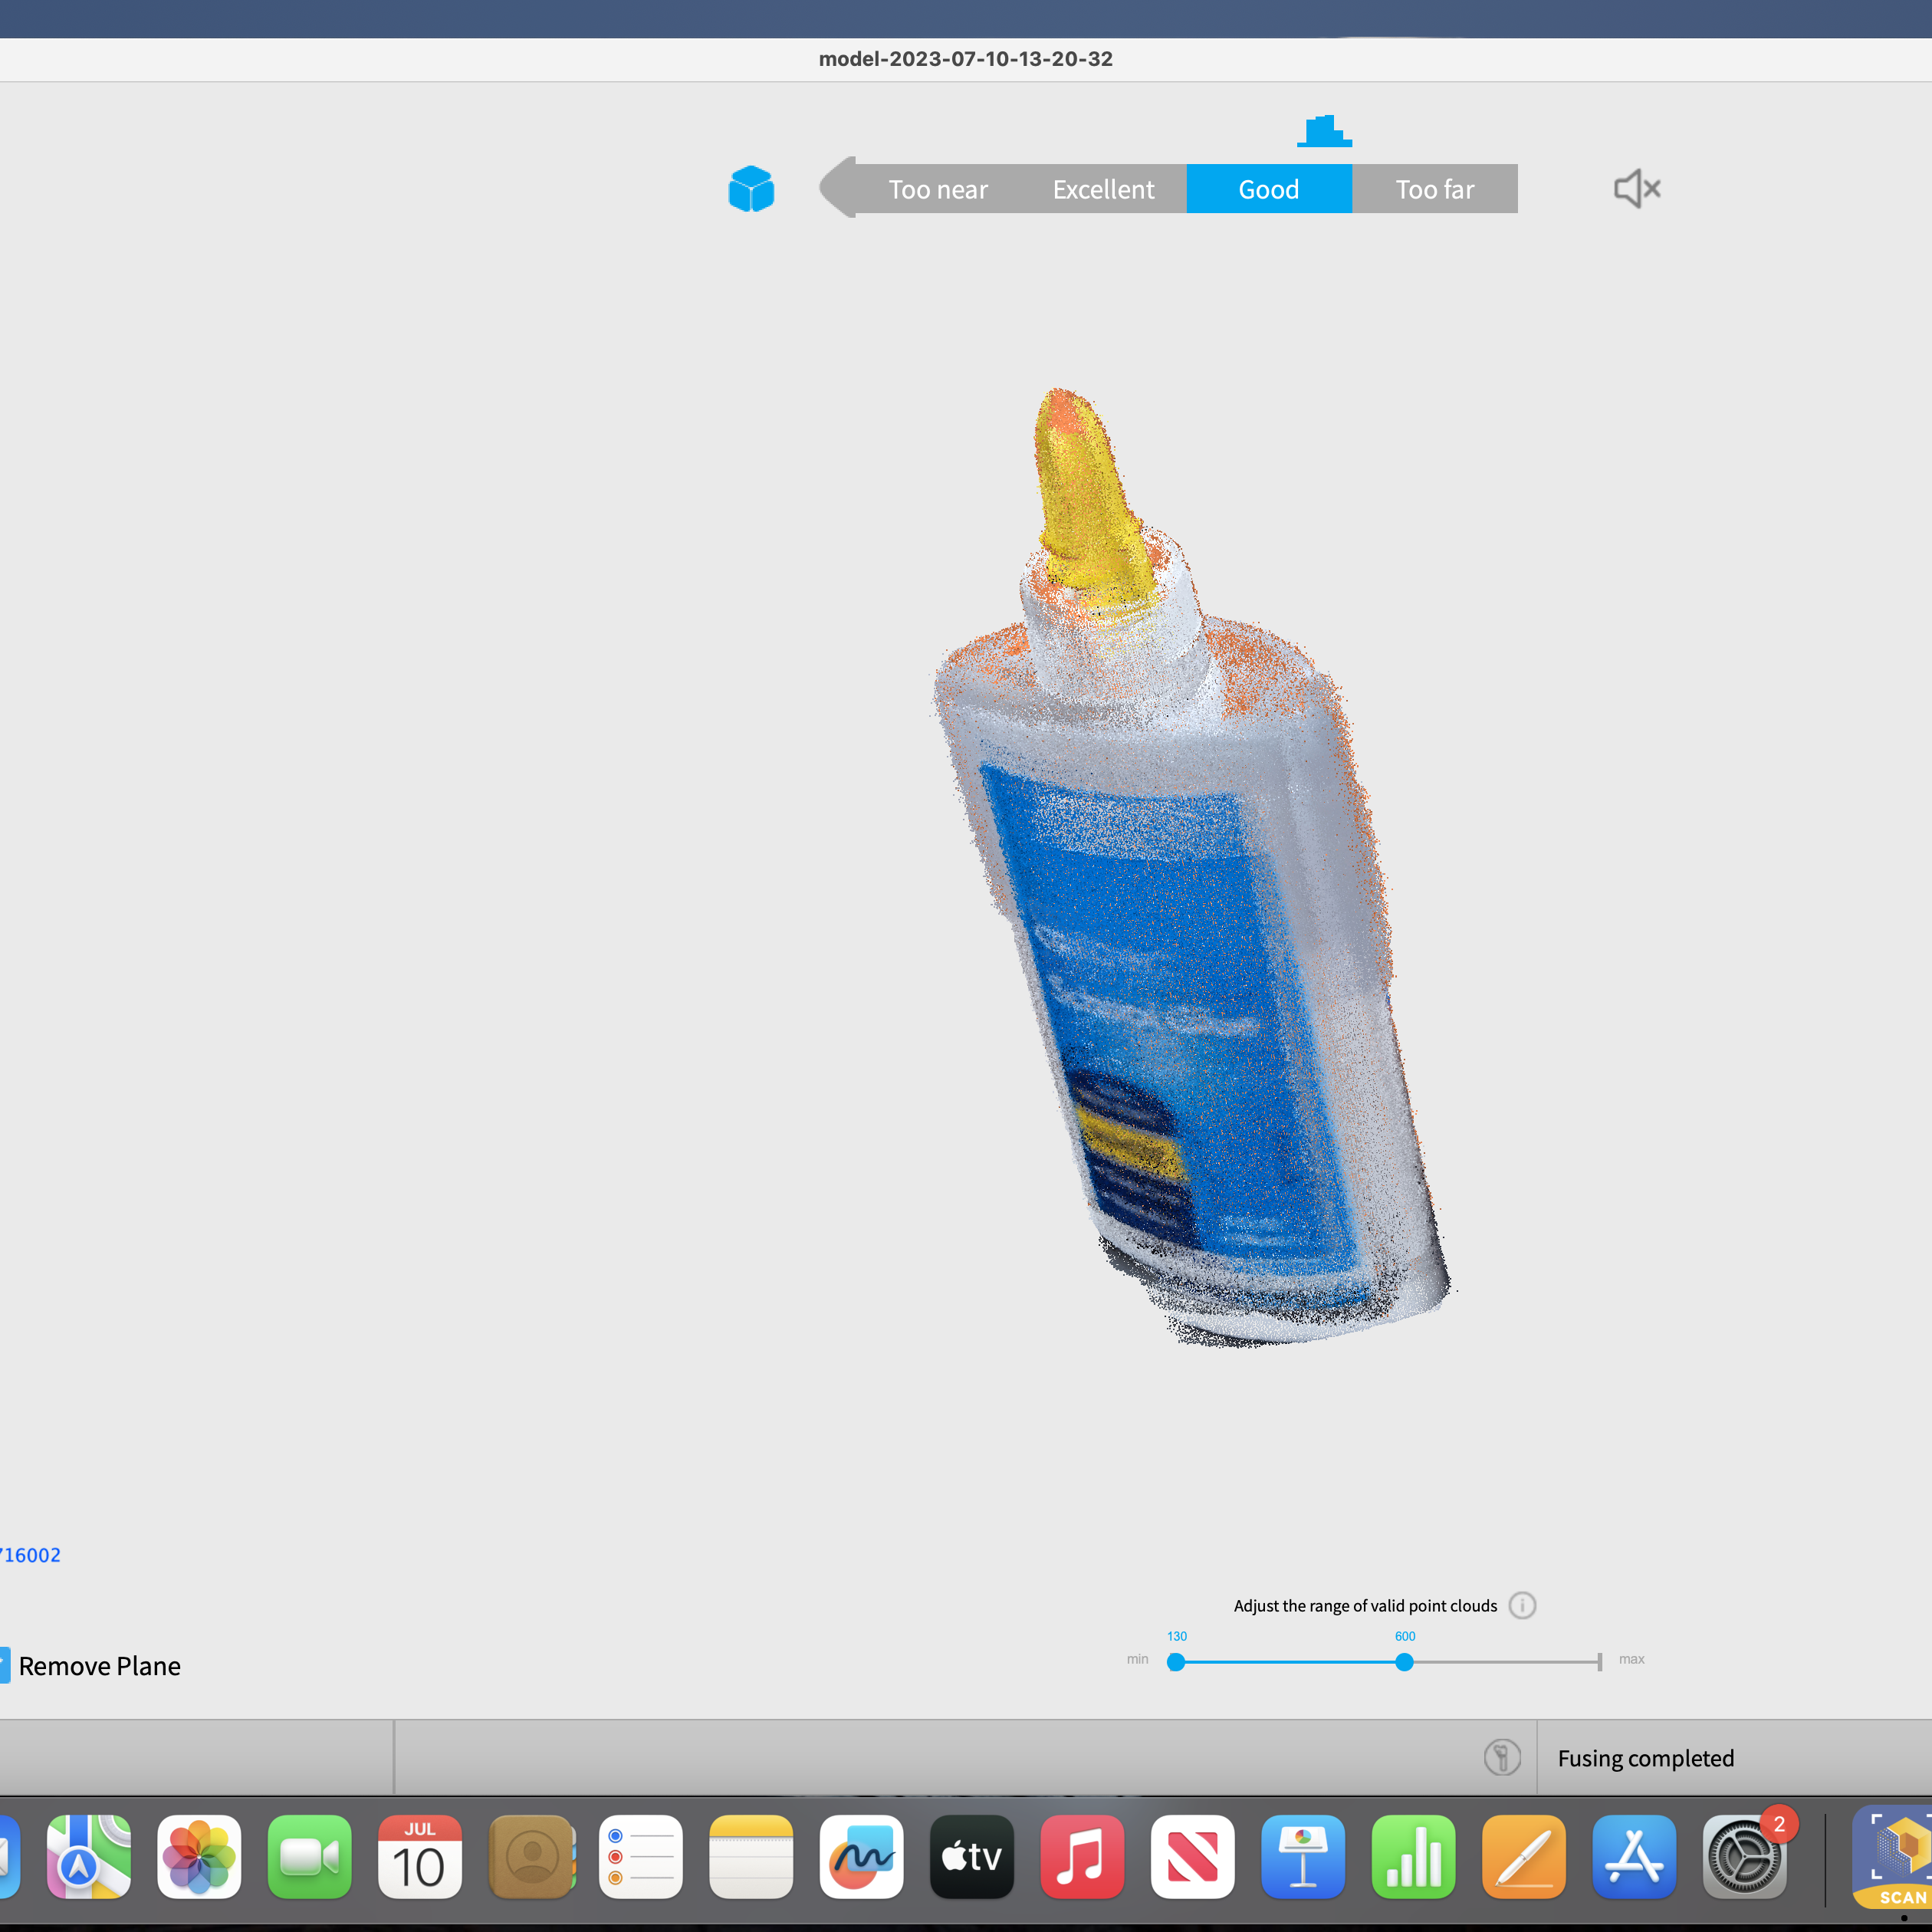
Fig 15. Fused Point Cloud
After this, I created a mesh. This represents the final model before post-processing.
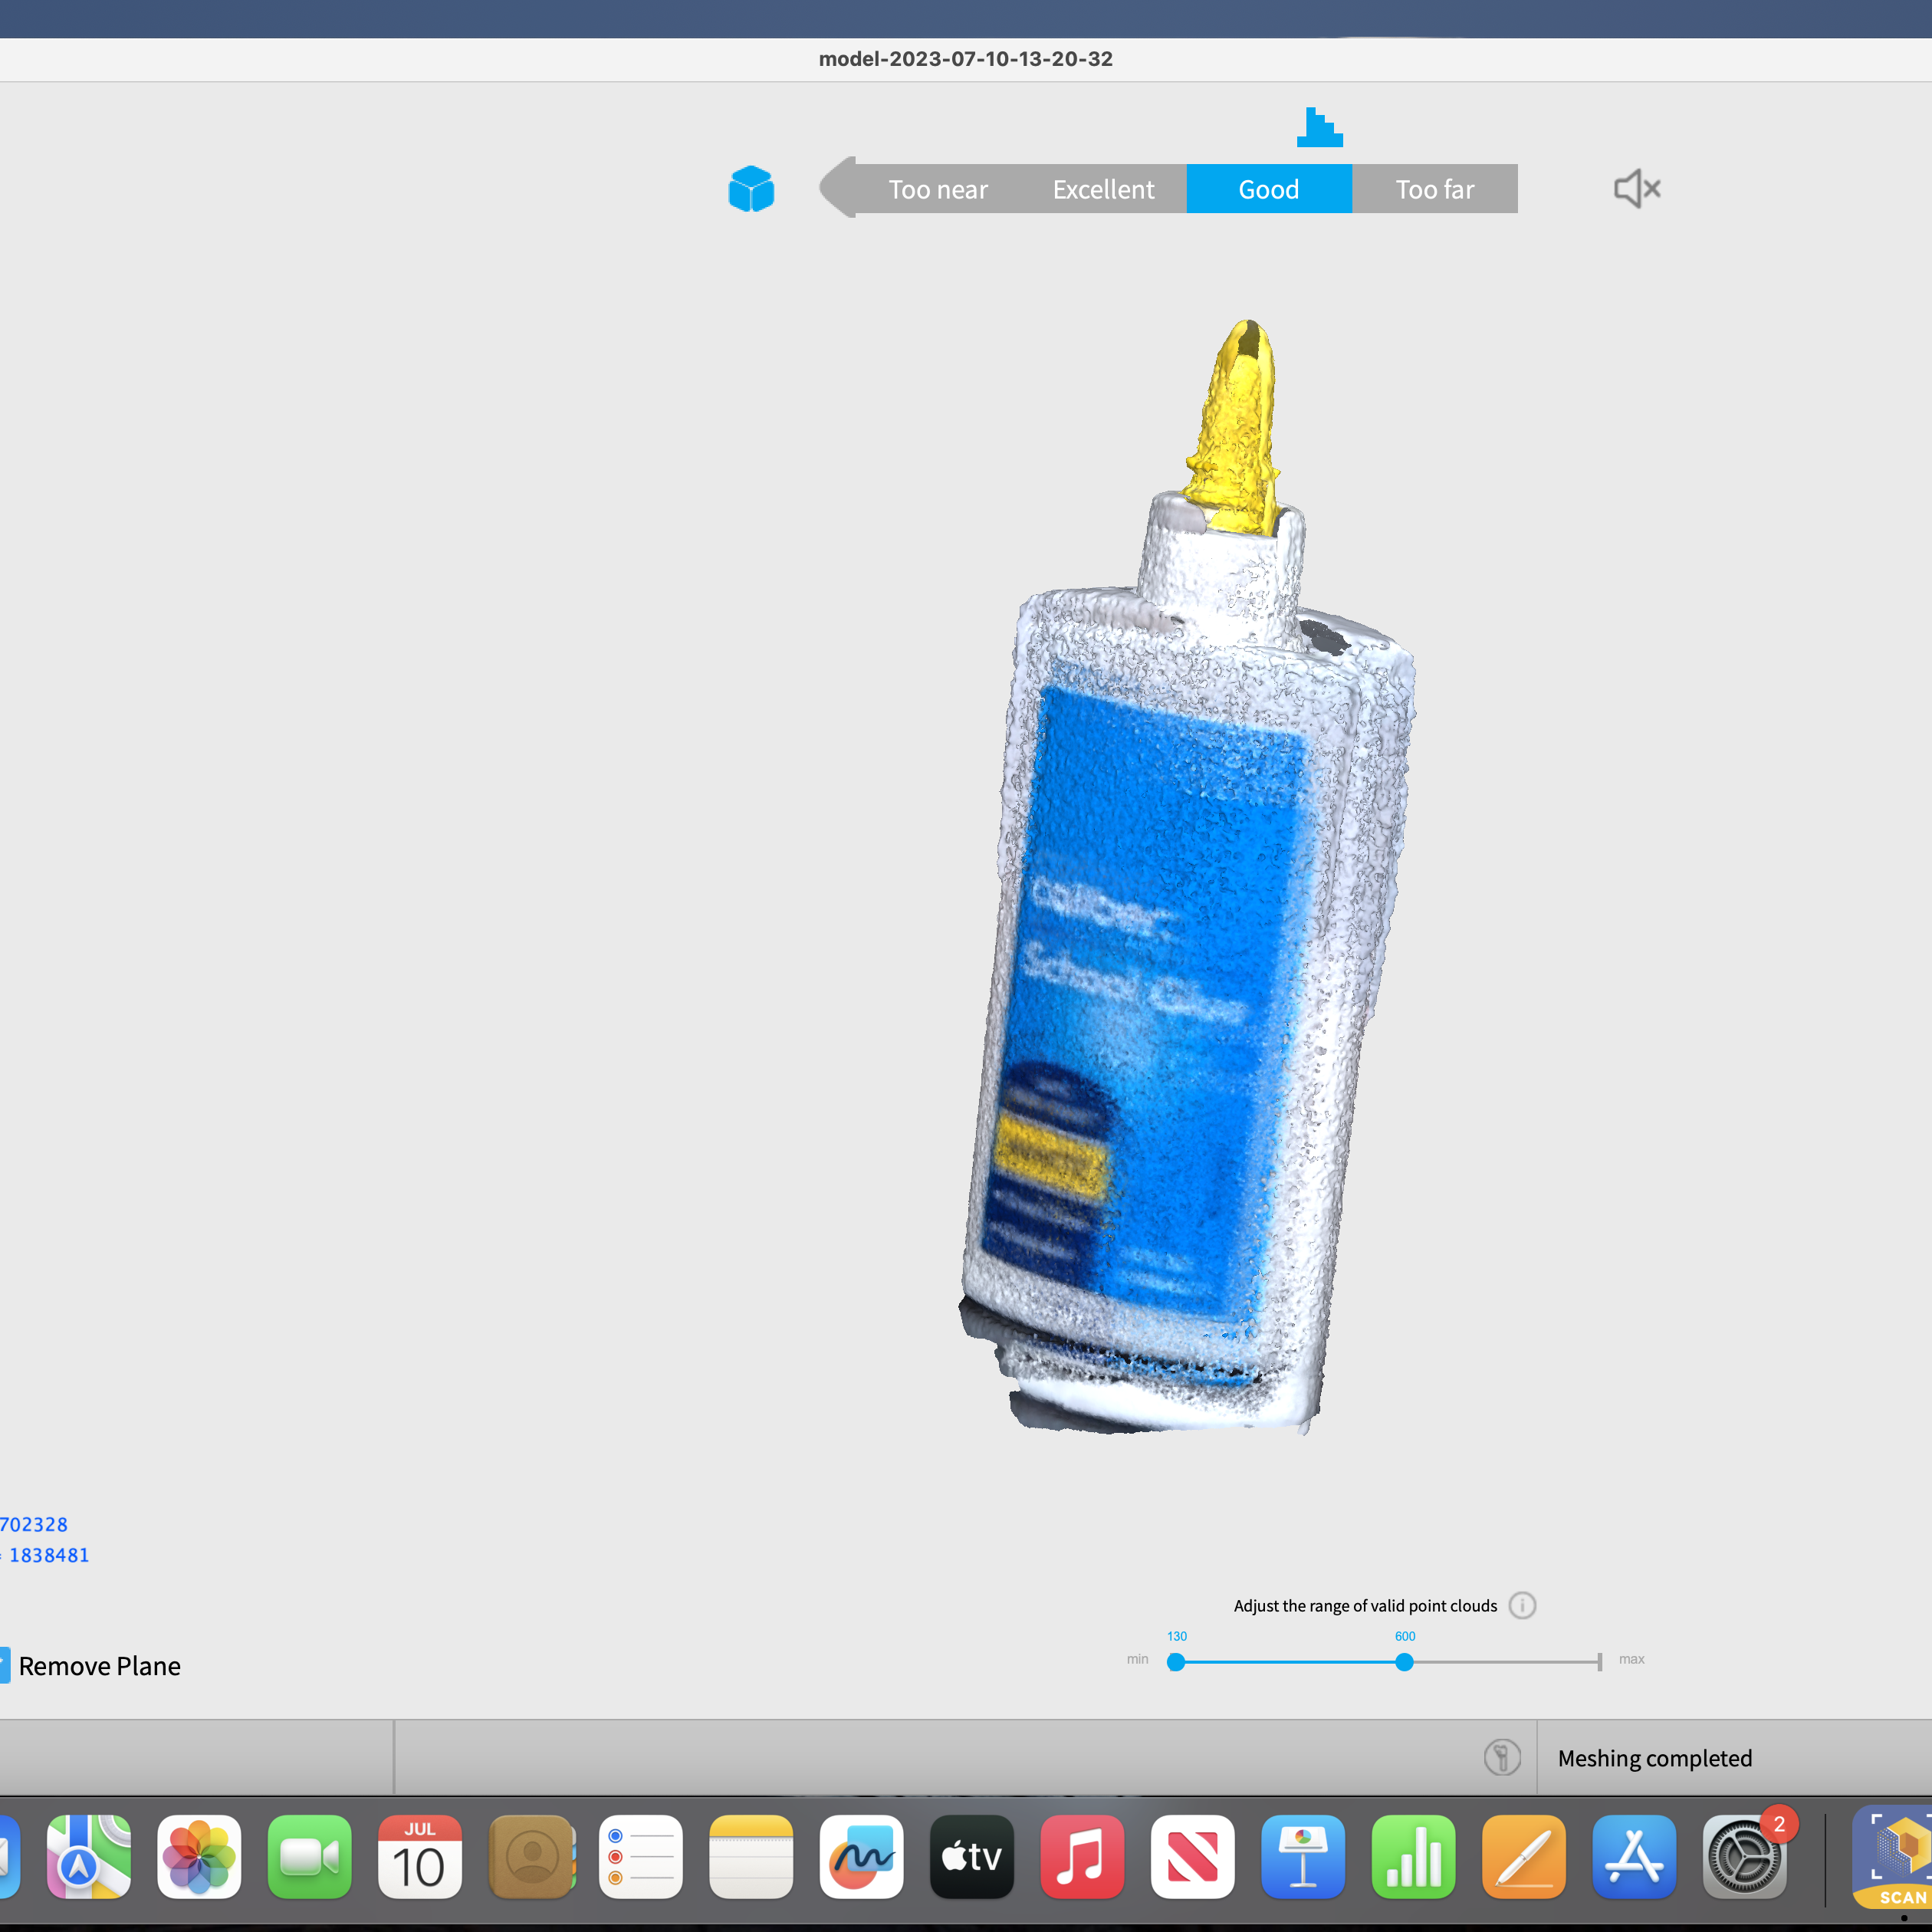
Fig 16. Created Mesh
I then opened my file in RevoStudio. First, I filled the holes.
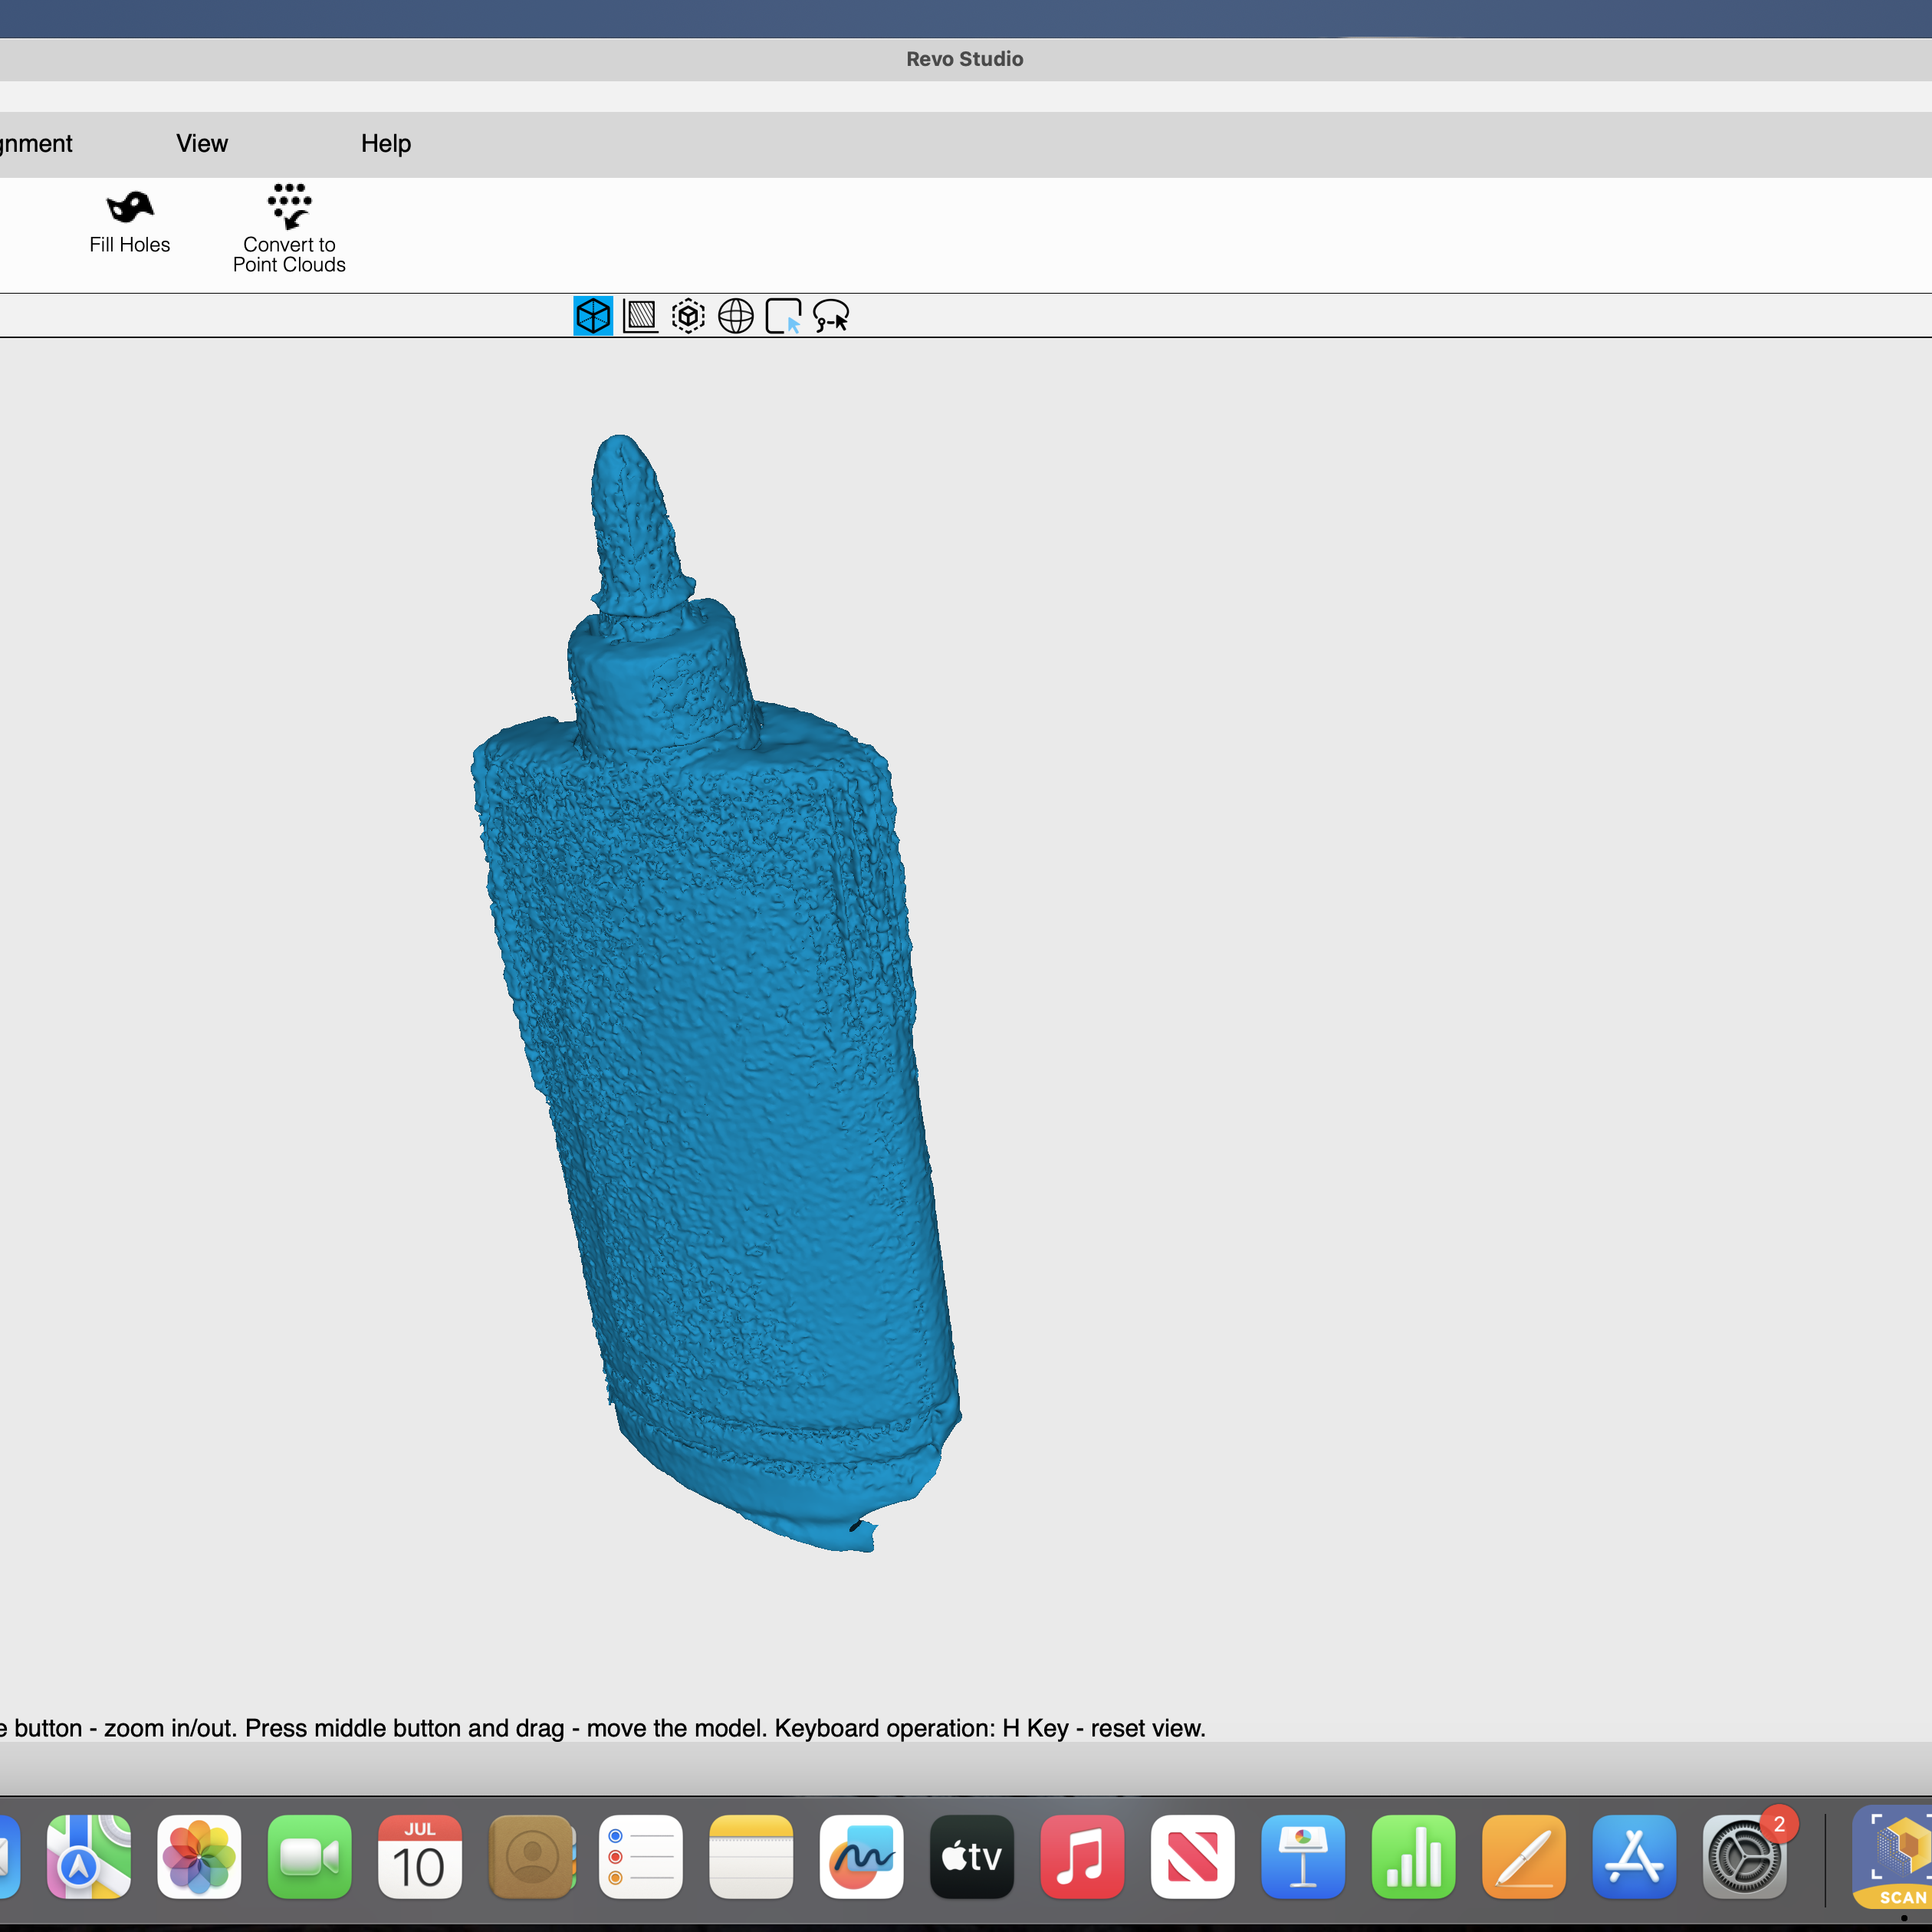
Fig 17. Opened Mesh
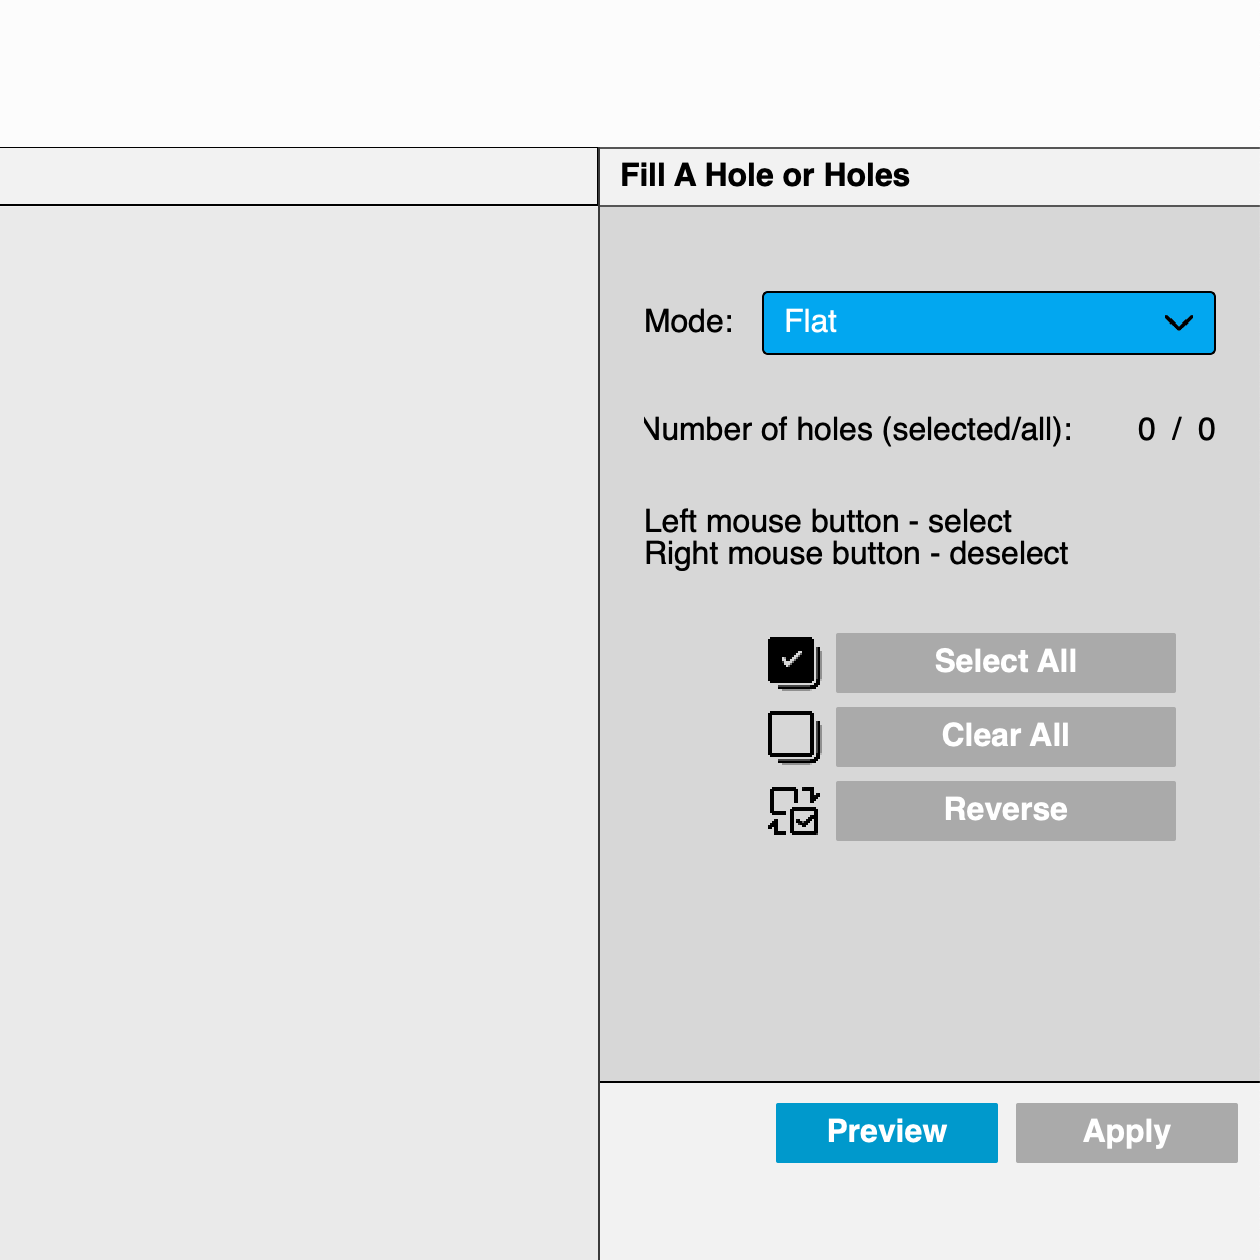
Fig 18. Settings for Filling Holes
Then I smoothed the mesh.
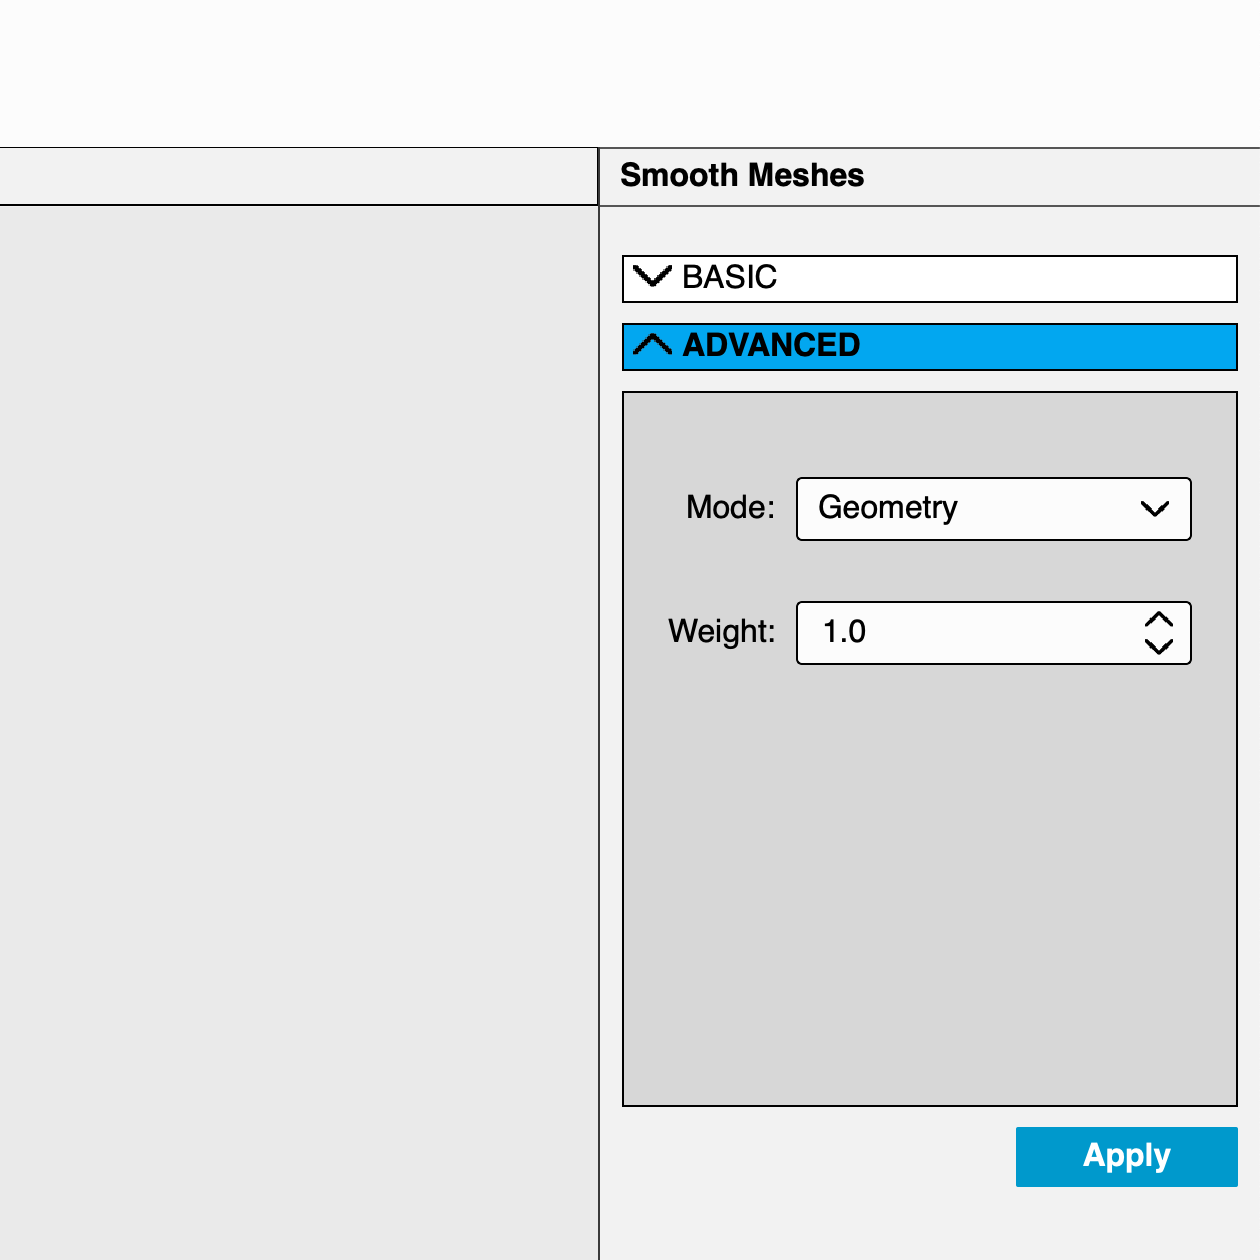
Fig 19. Settings for Smoothing Mesh
And finally, I simplified it to remove some of the unwanted texture.
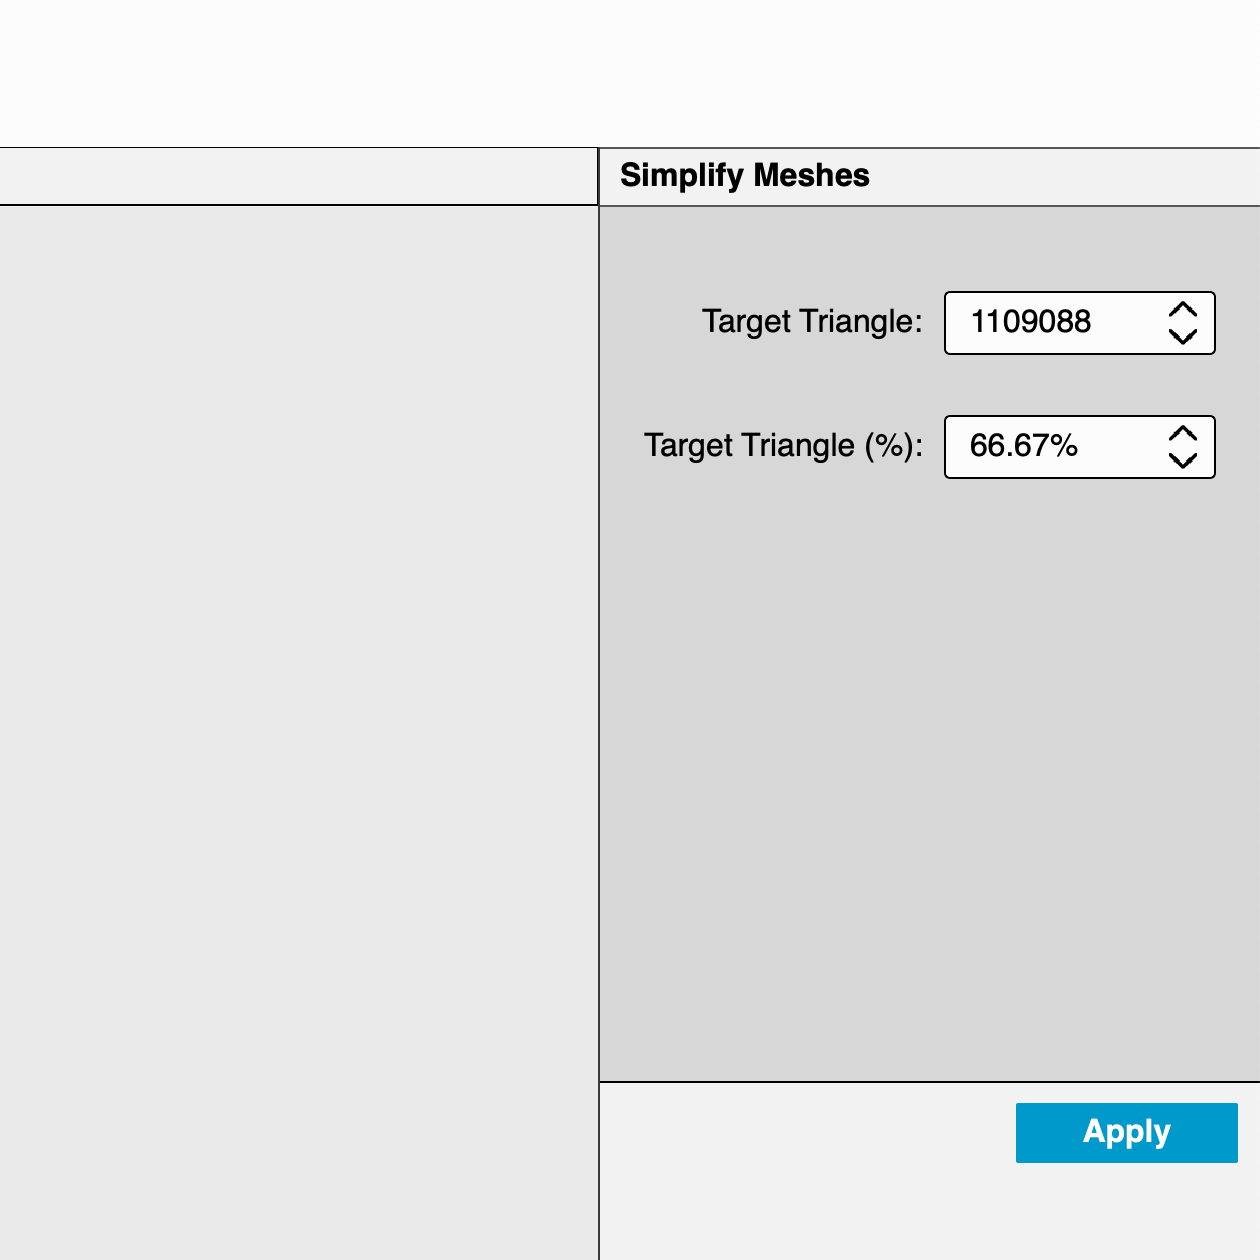
Fig 20. Settings for Simplifying Mesh
This left me with my final scan.
As you can likely see, this scan was extremely rough. I believe that this is because my object was too far away (because of how large it was) as well as the fact that it was very white (in my experience, darker colors work better). However, this roughness gave me the opportunity to experiment with some interesting post-processing techniques!
Conclusion
This project gave me tons of experience using and printing with Fusion360. I was able to make a concrete step towards the completion of my final project, which was also a great feeling! I am excited to do some testing using my joystick design, as well as possibly changing it or using a different design altogether. I reccomend looking at my documentation for my final project as it shows how this component plays in.
Files Mentioned in this Document
Glue Bottle Post (.STL)
Glue Bottle Fuse (.PLY)
One Glue Bottle file was too large for GitHub.
Ball Socket (.F3D)
Ball Socket (.STL)
Ball Socket (.GCODE)